Prototyping
Part 1: What Is Prototyping?
If you are new to the world of web design and a little unfamiliar with all the right terms, we’ve got your back! In this article, we will let you know the basics of prototypes, their types, how to design them, and much more. So, stay with us!
Prototype is a term used in the web designing, software programming, electronics, and UX/UI design world. A prototype, in the simplest terms, is a model of a product being designed. It is used to test the product and figure out the flaws before the development team takes over. It is a very important step when designing a product.
Now, we shall look over the purpose and benefits of prototyping.
Part 2: Purposes and Benefits of Prototypes
Prototypes serve a great purpose in the web designing process. Here, we are going to list a few reasons why you should always start with a prototype.
Prototypes are the best way to show what kind of product is being designed. Furthermore, it helps the client visualize the product and they can add or remove anything according to their requirement.
2. Provide a Practical ModelPrototyping serves to provide specifications for a real, working system rather than a theoretical one. This makes it easy to point out any issues or problems with the product.
3. Save Production CostA prototype is built in the initial stages of the project before any production is done. This saves a lot of money as updates can be made easily.
4. Grab InvestmentPrototypes are a great way to grab the attention of potential investors. Pitching a real, working model instead of a theoretical one attracts the investors and allows them to assess its success in the market.
5. Feedback from UsersWhen a prototype is made, it is used by clients, investors, and customers. They then give suggestions and feedback which is used to improve the product.
6. Assessing MaterialPrototypes help in assessing the durability of the material used to design it. It also helps in assessing whether you require new machinery, or some changes need to be made to the current one.
Part 3: Types of Prototypes
When designing a prototype, you have the option to choose from different types of prototypes. Here, we are going to list three different ones and you can choose the one most suitable for you.
1. Paper Prototype
Paper prototypes are the simplest type of prototypes. The product is designed on paper and then explained by the designer. It is used to immediately materialize a concept. It also helps in quick confirmation of the product from the client.
Advantages:
- It is quick and inexpensive.
- It gives the designer creative freedom.
- It is an automatic way of documentation.
Disadvantages:
- Clients and designers may understand different things.
- Risk of inaccurate feedback.
- Limited interactivity.
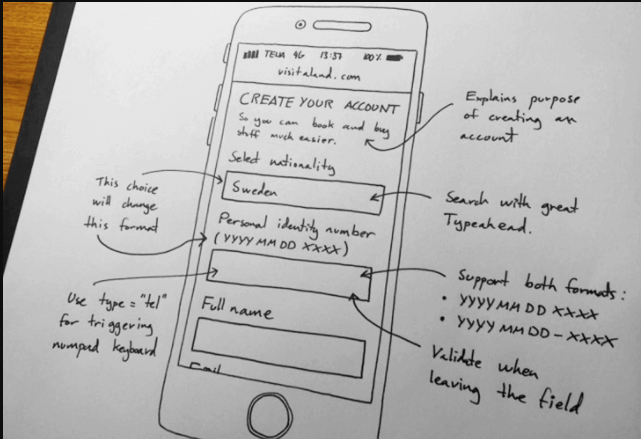
2. Low-Fidelity Prototype
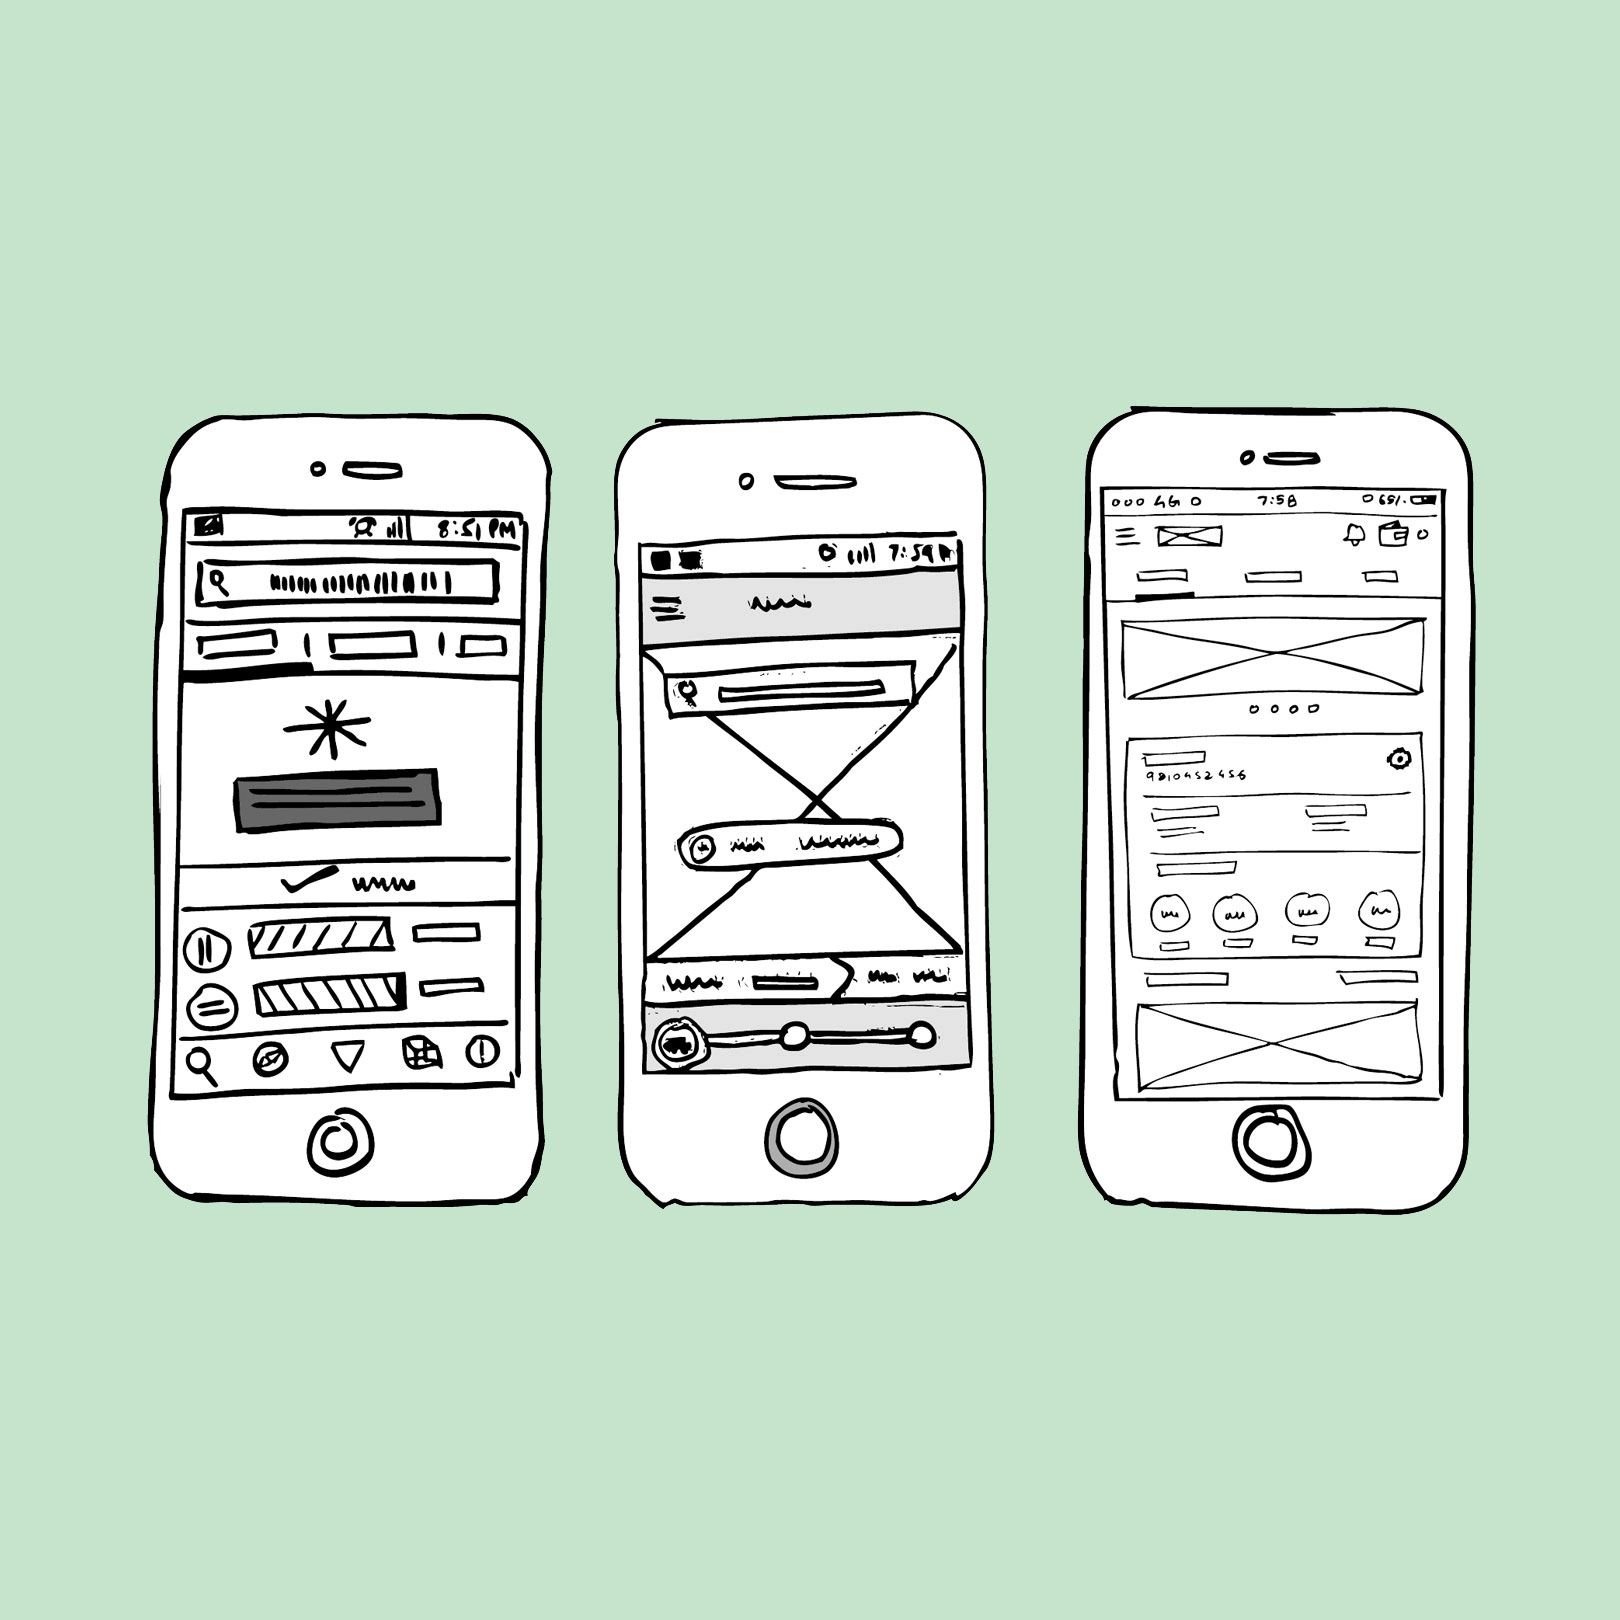
A low fidelity prototype is an initial stage of a prototype. It consists of some visual designs, key elements of the content, and a little interactivity. It is used to translate a concept into a testable design.
Advantages:
- It is cost-efficient.
- Helps teams to explore different ideas quickly.
- It promotes group work as special skills are not required.
- Better understanding between team members and stakeholders.
Disadvantages:
- User testing is not certain.
- Users may be unclear as to what is working and what is not.
- Interactivity is limited.
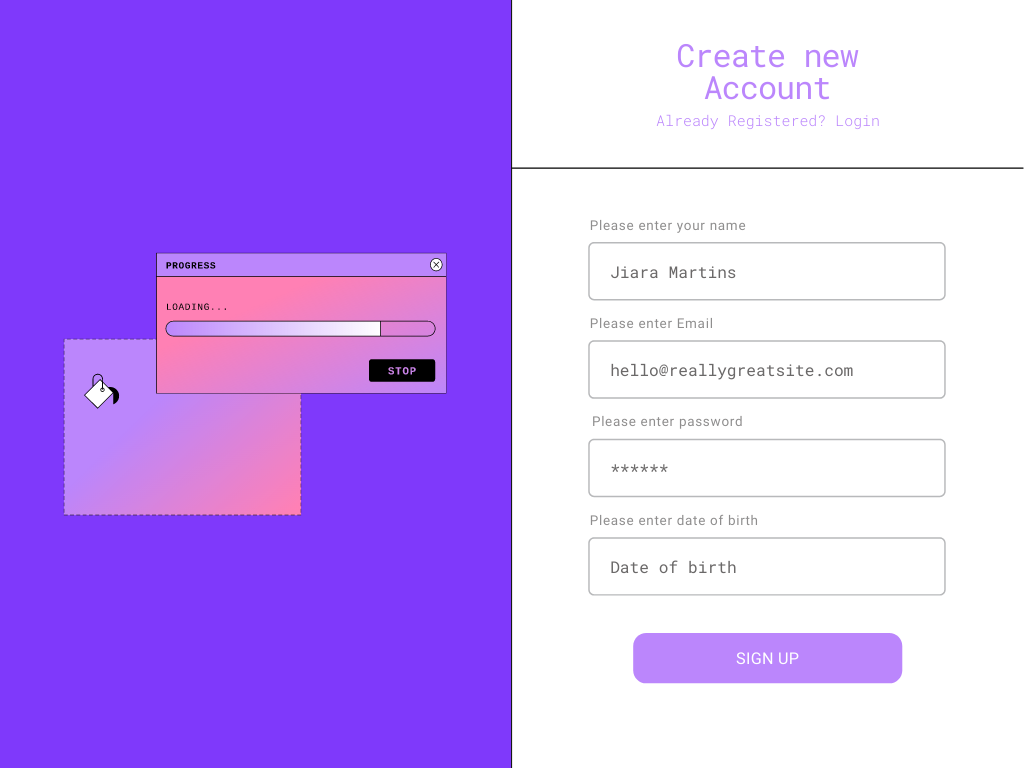
3. High-Fidelity Prototype
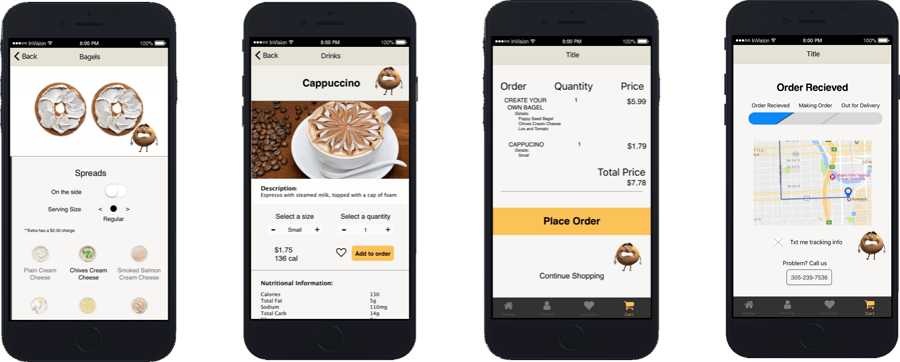
High-fidelity prototypes are very similar to the final product. They are created to test the useability and to get the final go-ahead from the stakeholders.
Advantages:
- Good, certain results from user testing.
- Graphical elements such as transitions and micro-interactions can be tested easily.
- It is good for hyping up the product and getting investors.
Disadvantages:
- It has higher costs as compared to the low fidelity prototype.
Part 4: Things to Do Before Prototyping
If you have a brilliant idea and are looking forward to designing a prototype, there are a few things you should keep in mind.
1. Conduct Market Research
It is important to know whether the product that you are designing is required in the market or not. Maybe there is already an alternative present. You also need to assess the useability of the product in the market.
2. Find out Who the User is
Once you have decided on your product, it is important to know who the users will be and what kind of socio-economic background they will belong to. After you have all the information, use it while designing the product.
3. Examine the Budget
Make sure you know how much money you have for this product. Design a product in a way that doesn’t take you above the budget limit.
4. Get the Required Material
At this point, you should know what direction your project is going to take. For this purpose, have a meaningful discussion with your client and decide all the details of the product. This helps you find the best way to go about the project.
Part 5: Guide to Design a Prototype
1. Identify Initial Requirements
Determine who the users will be and what they will be able to do using the software. Then send the basic specifications to a software designer or developer.
2. Develop an Initial Prototype
This is the stage where the designer will put your idea out on paper or something physical. It doesn't necessarily have to be a fully functional design, but it should have all the basic details of what your prototype is going to be like, what its purposes are, its basic design, and its functions. It could be a simple or an elaborate working model.
3. Conduct Beta Testing
Here, the initial working prototype is given over to a handful of customers who review the product based on their useability, intuitiveness, and requirements. Then they suggest particular improvements.
4. Revise
Based on the feedback from the beta testing, both the specifications and the prototype may be changed to fine-tune them for the actual development.
5. Develop a High-Fidelity Prototype
Develop a high-fidelity prototype with all the specifications and complete design and structure. You can now again test the product on users before starting its production. Conduct a final analysis based on feedback from all stakeholders and get on with production.
These were the general steps to design a prototype. However, when designing a website or app prototype, there are a few things to keep in mind for each of them.
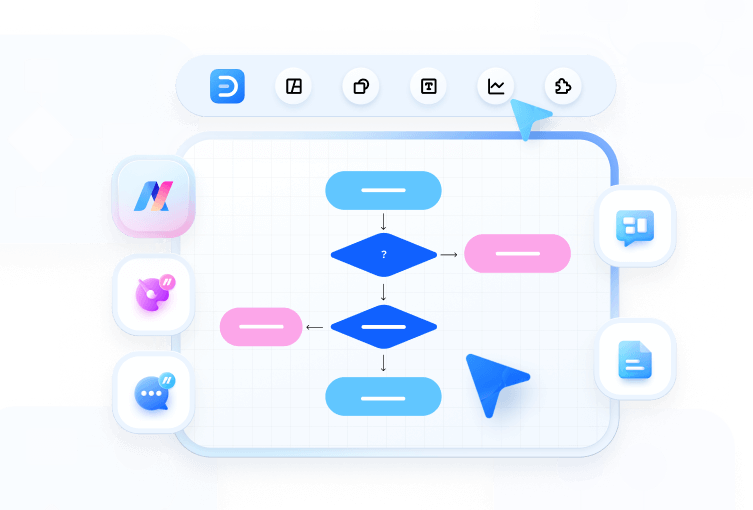
An all-in-one platform for 210+ diagrams.
・ Simple alternative to Visio
・ 26k+ symbols
・ 10K+ free templates
・ 10+ AI diagram generators


Part 6: Example of A Prototype Design
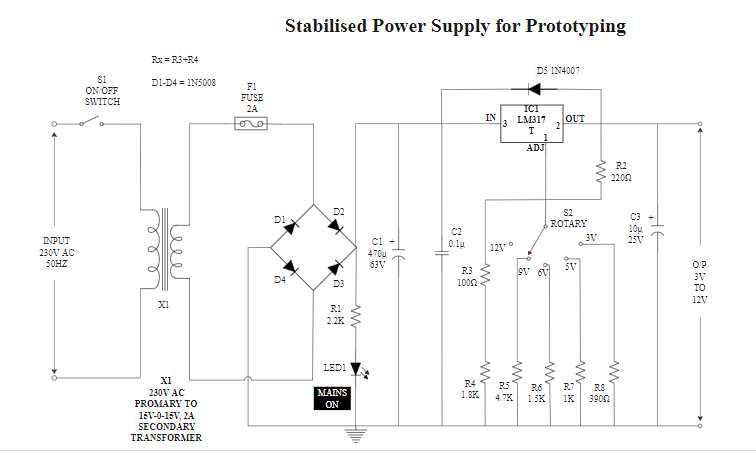
As an Engineer, you might need to design a paper prototype of your design. For that purpose, EdrawMax offers some templates such as the one given above. Use these templates to design your prototype quickly and easily. All you need to do is make adjustments so that the prototype is in line with your design.
Part 7: Wireframe vs. Mockup vs. Prototype
Just like prototypes, other methods can also be used to design a product before the coding stage. The other two tools are wireframes and mockups.
Depending on your requirement, you can decide whichever of the above tools is suitable for you.
Part 8: Conclusion
Prototyping is an important step which holds the software designing process together. Enjoy the different benefits of prototyping and use its different types as per your preference. Our guide and important points will surely help enhance your prototyping.
Make sure you have all the right details and information and unleash your ideas on to the world. Happy Prototyping!!

