Blueprint Complete Guide
Edraw Content Team
Do You Want to Make Your Blueprint?
EdrawMax specializes in diagramming and visualizing. Learn from this blueprint design complete guide to know everything about blueprint. Just try it free now!
Back in the days when the architect or civil engineer drew the house or building plan, they used a blueprint, originally designed by John Herschel in 1842. In simple words, a blueprint is a two-dimensional set of drawings that illustrate a detailed visual representation of what the builder or the engineer wants the house to look like. As Kevin Hart said,
"Everybody that's successful lays a blueprint out."
Even though floor plans and building plans have completely replaced blueprints, thousands of architects still prefer to work on a blueprint when they start constructing the building or the residential complex. In this elaborated guide to understand the blueprint, we will help you understand the difference between blueprint, floor plan, and construction plan. In addition to this, we will walk you through different sections and features of blueprints by illustrating how you can create a blueprint using EdrawMax.
Before we start our guide to understand blueprint design, let us help you understand the different types of blueprints and how they are different from the latest building plans.
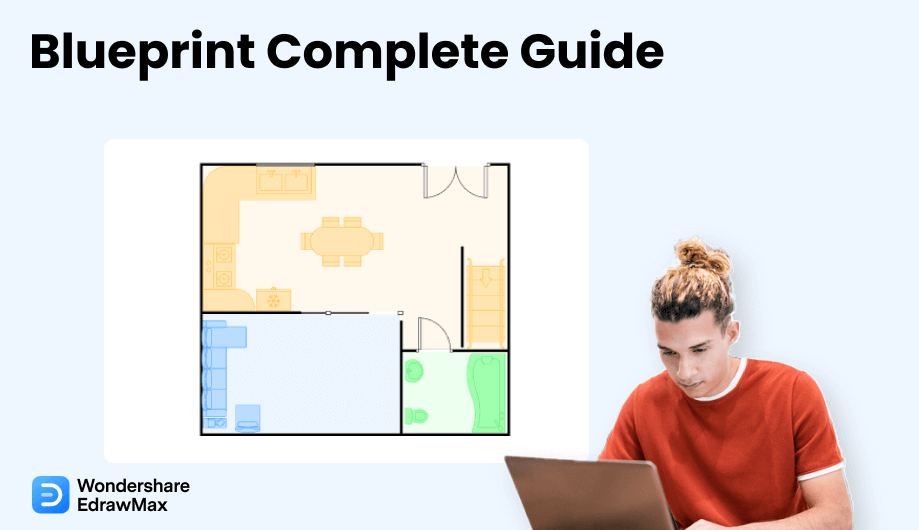
1. What is a Blueprint
In short, blueprints are a type of construction drawings that visually depict how a building is designed by the architect, what materials the builder will use, the location of the building, and which special features the client or customer wishes to add to it. In the architecture world, blueprint designs are copies of a building reproduced with white lines on a blue background to ensure that everything (lines, icons, symbols, shapes, features, and more) is pretty clear to all the people involved in the construction of the building.
After their invention post World War II, blueprints were widely used to reproduce specification drawings used in construction and industry. However, since the blueprint process was characterized by white lines on a blue background, a negative of the original, one did not have many options to showcase multiple colors, and that is why most of the architects have stopped using blueprint designs.
In most cases, people often get confused between blueprint, floor plan, and construction plans. So, let us help you understand the difference and similarities between these three plans.
Blueprints are a type of construction drawings that visually depict how a building is designed by the architect, what materials the builder will use, the location of the building, and which special features the client or customer wishes to add to it.
2. Blueprint vs. Floor Plan
Blueprints, drawings, and floor plans are just a few different names for the same thing - the different drawings that show what a building looks like from the inside and outside so it can be constructed. A blueprint describes a way of printing and duplicating drawings that were used years ago. There are some major differences between blueprint and floor plans, like:
- A floor plan is a view of a building from directly above, while a blueprint is a type of drawing created on a special type of paper with some chemicals on it.
- A simple floor plan will only show a door space and a window space, but a blueprint will specify what kind of door and dimensions of the doors and windows.
- A floor plan can be printed on any background and retain the information. Unfortunately, the same cannot be said about blueprints.
3. Blueprint vs. Construction Plan
Construction plans are technical drawings created by civil engineers or architects to put all the construction specifics of a house in one package that will then be shared with the builder as they construct the house. At the same time, blueprints are the fundamental plan for constructing any building structure that shows the electrical outlines, roof plans, ground plans, and such.
It should be noted here that blueprints are construction drawings that illustrate how a building is to be designed. Once you start designing a building, you will understand that there are many blueprints you require.
4. The Benefits of Blueprints
Blueprints put everyone involved in the construction process on the same page, including the civil engineer, construction workers, architect, the home or building owner, building inspectors, and more. In addition to this, there are several benefits of creating a blueprint design for the building, like:
- Defines the building's need: It would be very tiresome if you started working on the building before even getting the right outline or understanding the dimensions and scale. Creating the blueprint will bring everyone on the same page to avoid confusion and miscommunication.
- Better Scheduling: Blueprint encompasses site plan, floor plan, construction plan, electrical wiring plan, and more. Since everything is on the same package, the project deadlines are met.
- Cost-Effective: With multiple blueprints in hand, you will get a proper understanding of how much money you will need to create your dream house.
- Avoid problems: A blueprint design will let you avoid any unnecessary damage or problems that might happen when your architect starts constructing the building.
- Easy Maintenance: If you do not have access to the blueprint of the house, it will become extremely tiresome for your engineer to perform any maintenance on the building.
Blueprint illustrates everyone's work in the construction process on the same page. In addition to this, there are several benefits of creating a blueprint design:
- Define the building's need, uniform the standards
- Plan costs and improving cost-effectiveness;
- Avoid problem early;
- Have easy maintenance for the building.
5. The Basics of a Blueprint
After learning about the benefits of blueprints, you must have understood that blueprints were the key factor in any design or construction before floor plans and site plans came into existence. If you are going to construct any type of building or complex, you will need a set of blueprints that will provide you with the outlines and the details of the features required to create the blueprint. Here we will discuss some of the important sections and features of blueprints that will provide you with an idea about their importance in construction.
These blueprints are useful to keep on hand in case one needs to make any modifications or do some sort of repair work.
5.1 Basic Sections of a Blueprint
While creating a blueprint, you should know that blueprints are typically designed on a ¼ inch scale, which means that every quarter-inch on the blueprint design plan will be equal to 1 foot of the actual length of the completed structure.
It simply means that if you have a property that has a width of 30 feet and a length of 50 feet, then on the blueprint design, you can easily create the property layout, which will have a width of 7.5 inches, and length would be 12.5 inches. If you design the blueprint according to this scale, it will resemble the size of the final structure of your building.
5.2 Basic Features of a Blueprint
A blueprint is a fundamental plan for the construction of any structure. The print is what shows the builders. Some of the great features of creating a blueprint for a building are:
- Title Block: The title block's first section lists the blueprint's name number, as well as the location, size, or vendor. This information will also be listed in the drawing as part of a series.
- Revision Block: As the name suggests, the revision block comprises all the revisions made by the engineers when they have started constructing the building.
- Legends: Blueprints often consisted of symbols and numbers. In order to fully understand the specific blueprint, be sure to learn those symbols by reading through the legend.
- Understand the view: Learn and understand the difference between plan, elevation, and section.
- Scale: Blueprints are scaled-down representations of things like houses. The scale sets a rule for the entire drawing, saying what measurements on the drawing are equal to in real life.
- Basic Sections of a Blueprint: While creating a blueprint, you should know that blueprints are typically designed on a 1/4 inch scale, which means that every quarter-inch on the blueprint design plan will be equal to 1 foot of the actual length of the completed structure.
- Basic Features of a Blueprint: title block, revision block, legends, understand the view, scale.
6. The Types of Blueprint
6.1 According to the types of views
We often look at blueprints from different angles, and each angle or view depicts a different side of the building. In the architecture world, four types of views can categorize blueprints:
- Plan Views: It shows floor plans, roof plans, and foundation plans.>
- Elevation Views: It shows the right, left, front, and rear elevations of the building.
- Cross-Section Views: It helps the onlooker to understand the relation between floor heights, rafter lengths, stairway designs, and more.
- Isometric Views: An isometric drawing is a 3-D depiction of the building in which the lines are drawn at 30-degree angles.
6.2 According to the types of blueprint lines
In architecture education, we categorize the blueprints as per the lines. In general, lines illustrate walls, door frames, appliance exteriors, ranges of motions, etc. Some of the most common types of blueprint lines are:
- Object Lines: It shows the outer surface of any object.
- Hidden Lines: As the name suggests, it shows the hidden part, which will not be visible in the finished construction.
- Dimension Lines: It shows the measurement of walls or the length of any window from one point to another.
- Center Lines: These define the central axis of a symmetrical object.
- Phantom Lines: These blueprint lines illustrate the different possible positions of a movable object.
6.3 According to the types of drawing sheets
Most of the constructions that happen today are done by several professionals who come together with their expertise in some particular field. For instance, there are different professionals for electrical planning, roofing, framing, etc. In order to coordinate with their outputs, each set of blueprints has specialized drawings, commonly known as "sheets."
It should be noted here that each drawing sheet is categorized with its letter code so all the other experts can easily find the information they need. Some of the most common types of drawing sheets are:
- G-Sheets: These are mostly cover sheets or plan index sheets that list the details of all the other sheets.
- A-Sheet: A-Sheet, or Architectural Plans Sheet, includes floor and roof plans. In some cases, they also cover elevation views (front, sides, and rear).
- S-Sheet: S-Sheet, or Structural Engineering Plan Sheet, shows how to construct the details shown in A-Sheet.
- M-Sheet: M-Sheet, or Mechanical Plans Sheet, shows the HVAC appliances and ductwork layout.
- E-Sheet: E-Sheet, or Electrical Plan Sheet, shows the circuits, outlets, breakers, and panel boxes that will be located.
- P-Sheets: P-Sheets, or Plumbing Plan Sheet, depicts the internal and external piping of the building system.
Blueprint can be classified by the types of views, blueprint lines, drawing sheets and more. Check the list below:
- Based on the types of views: plan views, elevation views, cross-section views, isometric views, ;
- Based on the types of blueprint lines: object lines, hidden lines, dimension lines, center lines, phantom lines;
- Based on the types of drawing sheets: G-Sheets, A-Sheet, S-Sheet, M-Sheet, E-Sheet, P-Sheets;
7. Symbols of the Blueprint
Everything that comes under a building plan comes right under blueprints. So, you can imagine how many blueprint symbols there are in the architectural world. However, some highly used blueprint symbols can be a compass, stairs, doors, windows, walls, and appliances.
Material Symbols: As per several architectural guides, material symbols represent materials or contents on floor plans, elevations, and detail drawings. Different symbols may be used to represent the same item on these drawings. The outline of the drawing may be filled in with a material symbol to show what the object is made of. Some of the material symbols are:
- Glass, Cross Section symbol
- Metal symbol
- Sand symbol
- Tin symbol
- Titanium symbol
Electrical Symbols: Anything that requires electrical current will fall under electrical symbol sections. In addition to this, many electrical symbols are used to show the desired lighting arrangement. Some of the electrical symbols are:
- Light Fixture
- Stacked Switch
- Ceiling Fan
- Control Console
- Thermostat
Plumbing Symbols: Industrial piping is generally designed to carry liquids and gasses used in manufacturing processes. The piping used in commercial and residential applications is generally termed "plumbing" and is designed to carry fresh water in the property.
Fire Alarm Symbols: All the security-related symbols will fall under the fire alarm section. Some of the important fire alarm symbols are:
- Post indicator valve
- Fire alarm terminal cabinet
- Smoke detector duct type
- Battery Changer
- Fire Alarm Central Console
HVAC Symbols: The main function of HVAC drawings is to show the location of the heating, cooling, and air-conditioning units, as well as the piping and ducting diagrams. Some of the highly used HVAC symbols are:
- Pipe
- Eccentric
- Union Screwed
- Flanged
- Bell & Spigot
8. How to Read a Blueprint
Just like any other building plan, understanding blueprints are very important. Some young architects often get confused about how they can read a blueprint efficiently. Even before you dive into creating the blueprint, you should understand that the entire blueprint package of drawings (package refers to multiple drawings, like floor plans, architecture plan, reflected ceiling plan , HVAC layout, electrical plan, and major dimensions of the site plan) include different aspects of the construction.
In order to read the blueprint, you should always start from the site plan -- learn about the dimension, layout, and symbols used in it. Then you can go ahead to specific rooms and learn about the number of windows the client wants or the important doors or separation between two rooms. Once you have laid all these out, you can start reading the reflected ceiling plan, where you note down every minute detail about the ceiling, including the elements you want to place in it. You can analyze and record the following features:
- Check the outline of the building
- Understand the concept of the construction
- Learn about the symbols and scaling of the building
- Make a list of all the features that are added to the blueprint design
In order to read the blueprint, you should always start from the site plan -- learn about the dimension, layout, and symbols used in it. Then you can go ahead to specific rooms and learn about the number of windows the client wants or the important doors or separation between two rooms. Once you have laid all these out, you can start reading the reflected ceiling plan, where you note down every minute detail about the ceiling, including the elements you want to place in it.
9. How to Design a Blueprint in General
Now that you have understood the important benefits and symbols of a blueprint design, let us help you understand how you can create a blueprint using two methods.
Before we navigate you through creating the blueprint design using free software, let us check out some traditional ways of creating the blueprint.
Step 1: Create Outline
The very first stage of creating a blueprint is understanding the area you have with you. Once you have noted the area and the requirements, you can create a rough sketch. Remember to use a pencil to sketch the outline, as there might be certain changes that you might make in the subsequent steps.
Step 2: Plan to Scale
It is always advisable to create the entire blueprint with the right scaling. It means that you cannot go ahead with the blueprint without finalizing the right scale, as it will create issues when you sit down and start the construction of the building.
Step 3: Draw Walls and Rooms
Once you have finalized the scale and dimensions, you can start adding walls and create subsequent rooms. Do not worry about adding interior walls in the step, as our primary motive here is to ensure that we have enough rooms that we were looking for in this building design.
Step 4: Add Interior Walls
After you have added the walls and created the rooms, you can now start adding the interior walls. In most cases, these interior walls will also work as the separation or the walls that will open up to some corridors or balconies.
Step 5: Add Details
After adding walls and doors, you can start drawing stairs, bathroom areas, electrical fittings, and such in your blueprint designs.
The first method is us sharing the traditional method where you physically visit the site, analyze everything, create your blueprint drawing on the paper using pen and paper, label everything properly, and take a printout on a special colored printer. Another method to create the blueprint using EdrawMax, where all it takes is a couple of steps that will lead you to create and share your design.
10. How to Design a Blueprint in EdrawMax
Now that you have checked out the traditional way of creating the blueprint let us help you create the same with EdrawMax. The 2D blueprint maker comes with free templates and symbols, which ease your efforts in making any kind of building plan. The tool also comes with an online version, allowing a better remote team collaboration.
Instead of wasting time drawing a blueprint on paper, you should look for a way to design a blueprint easily. EdrawMax is well equipped to design a blueprint. There are only a couple of steps that you need to follow in order to easily create it, like:
Step1 Open EdrawMax and Login
If you are using the offline version of EdrawMax, then open the tool in your system. If you wish to have remote collaboration, head to https://www.edrawmax.com/online/ and log in using your registered email address. If this is your first time using the tool, you can register yourself using your personal or professional email address.
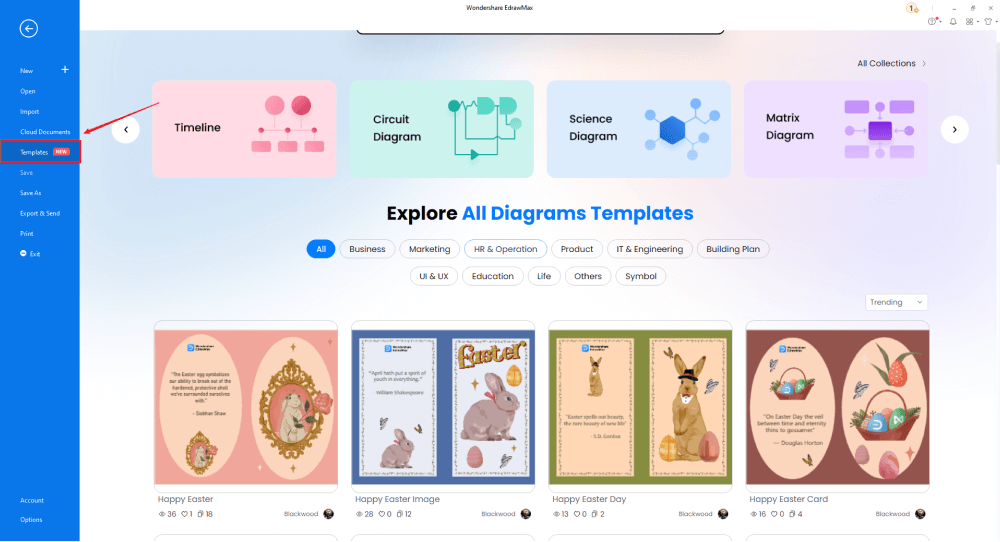
Step2 Template Selection
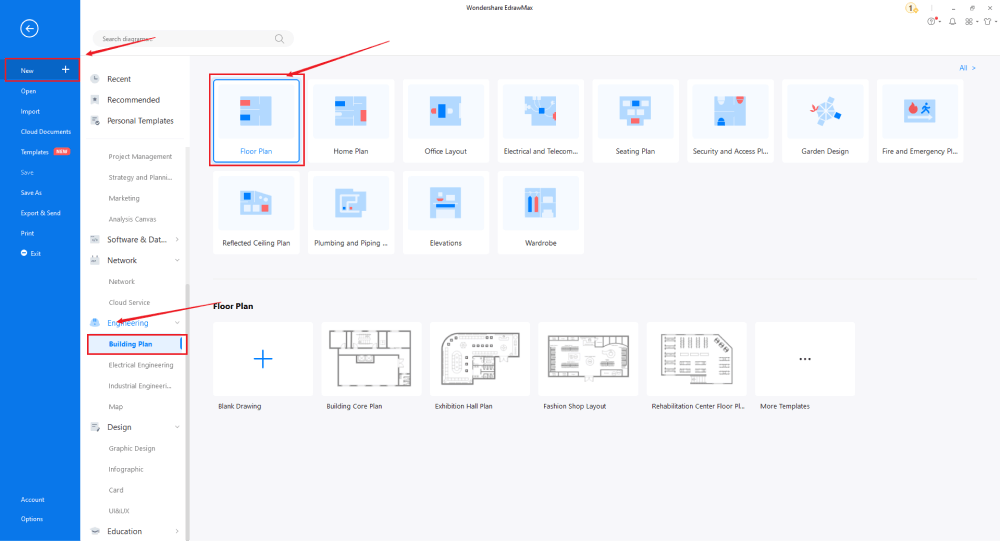
If you need to access the free building plan templates, click on the 'Templates' option from the left panel of the EdrawMax tool and type 'Blueprint' in the search bar of the template community. You will see hundreds of free floor plans, blueprints, and building plan templates readily available at EdrawMax. Click on any of these templates and start customizing them as per your requirement. Alternatively, you can also click on 'Building Plan' on the left side of the diagram panel. It will open up different diagram types, like Floor Plan, Electrical and Telecom Plan, Seating Plan, etc. Click on any of these plans to work on the free templates.
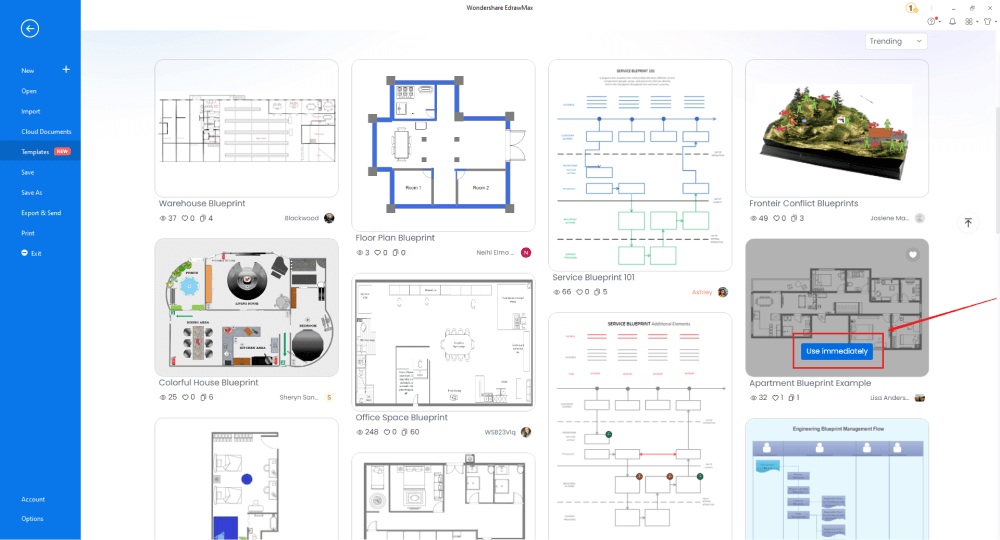
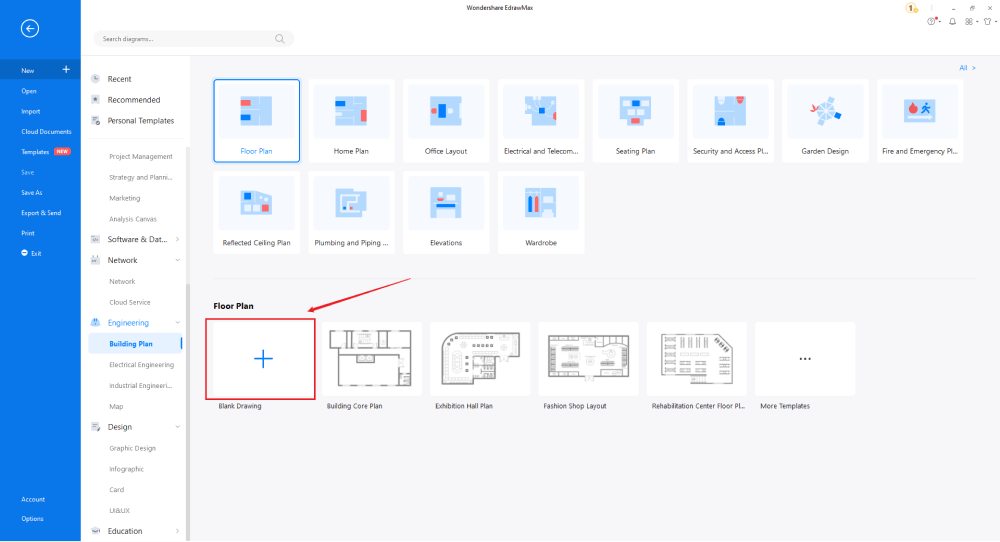
Step3 Create from Scratch
In order to create the blueprint design from scratch, click on 'Building Plan,' which you can find on the left panel of the tool. Upon clicking, you will see a list of different 'Building Plans' that you can create with EdrawMax, like Floor Plan, Home Plan, Office Layout, etc. Click on '+' to design the blueprint from scratch.
Step4 Create Outlines & Add Features
A blueprint's design starts with understanding the dimensions and your desire to add the features and elements. Once you have gathered the right information, you can create the outline. EdrawMax comes with dimension and scaling options to create the blueprint package as per the requirements. Now that you have created the outline, you can add doors, windows, walls, and other important features.
Step5 Select the Symbols
EdrawMax comes with over 50,000 vector-enabled symbols. Click on 'Symbols' on the toolbar and head to 'Predefined Libraries.' Find the 'Floor Plan' and click on any symbol package you wish to import. At EdrawMax, we have symbols for Wall Shell and Structure, Doors and Windows, Alarm and Access Control, Bathroom, Bedroom, Garden, Lighting, Plants, Plumbing, Sofas, Tables, and Chairs, Elevations, Video Surveillance, and more. Still, if you do not find the right blueprint symbol in the symbol library, you can create your symbol and save it in the library section for future usage.



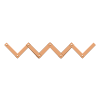
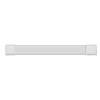


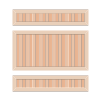
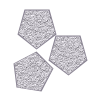

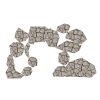

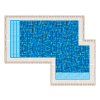
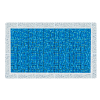

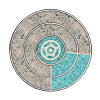
Know more about blueprint symbols, and try to drag and drop the symbols you want to customize your blueprint plans.
Step6 Export or Share
Once your blueprint design is ready, you can easily share it using EdrawMax's special sharing feature. This blueprint plan software lets you export your file in multiple formats, like JPEG, PNG, PPTX, PDF, etc. In addition to this, you can easily share the building plan via email or on different social media platforms, like Facebook, Pinterest, Line, and LinkedIn.
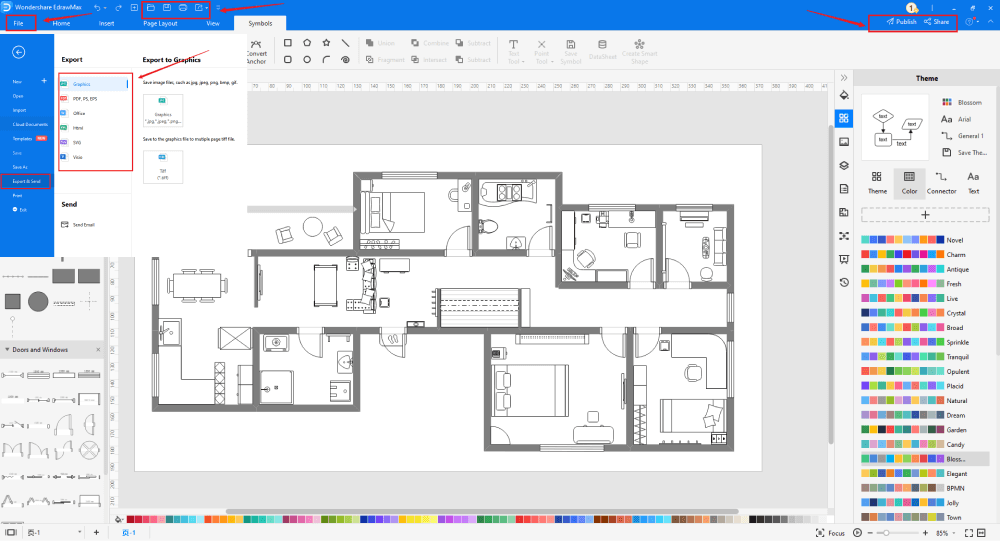
Basically, it is simple to create a blueprint in EdrawMax, just grab a template and keep customizing, drag and drop professinal blueprint symbols to make your plan better. If you are still confusing about how to make a blueprint in EdrawMax, just check this blueprint design guide, or check the video below. Or you can find more tutorial videos from our Youtube
11. The Blueprint Examples & Templates
There are 4 examples of blueprint that you can refer or use immediately. Just click the image to download EdrawMax, and download the templates accordingly. Then double click to open the templates and customize as your prefer. Or open the templates from EdrawMax Online , and duplicate the templates. Click this blueprint examples to get more inspirations.
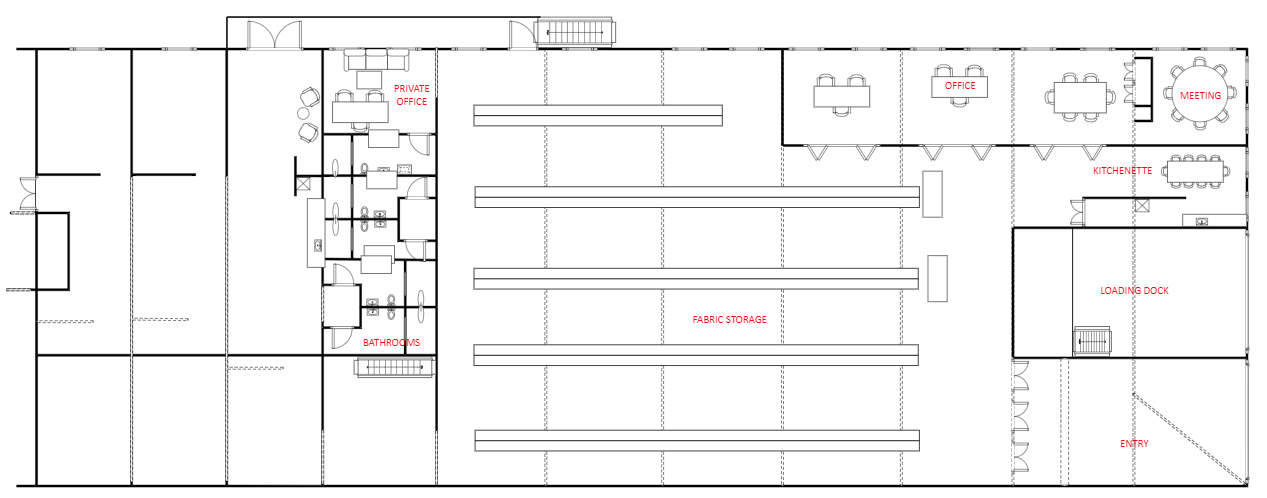
Example 1: Warehouse Blueprint
The following blueprint is for a warehouse that shows different areas, like Entry Point, Loading Dock, Kitchenette, Meeting Rooms, Office Area, Fabric Storage, Private Office, Bathroom, and others. Such warehouse blueprint examples are a great way of letting your prospective client know what their future warehouse will look like if you follow the same design. In addition to this, your client can even point out some modifications that have to be done in their warehouse using the coloring tools.
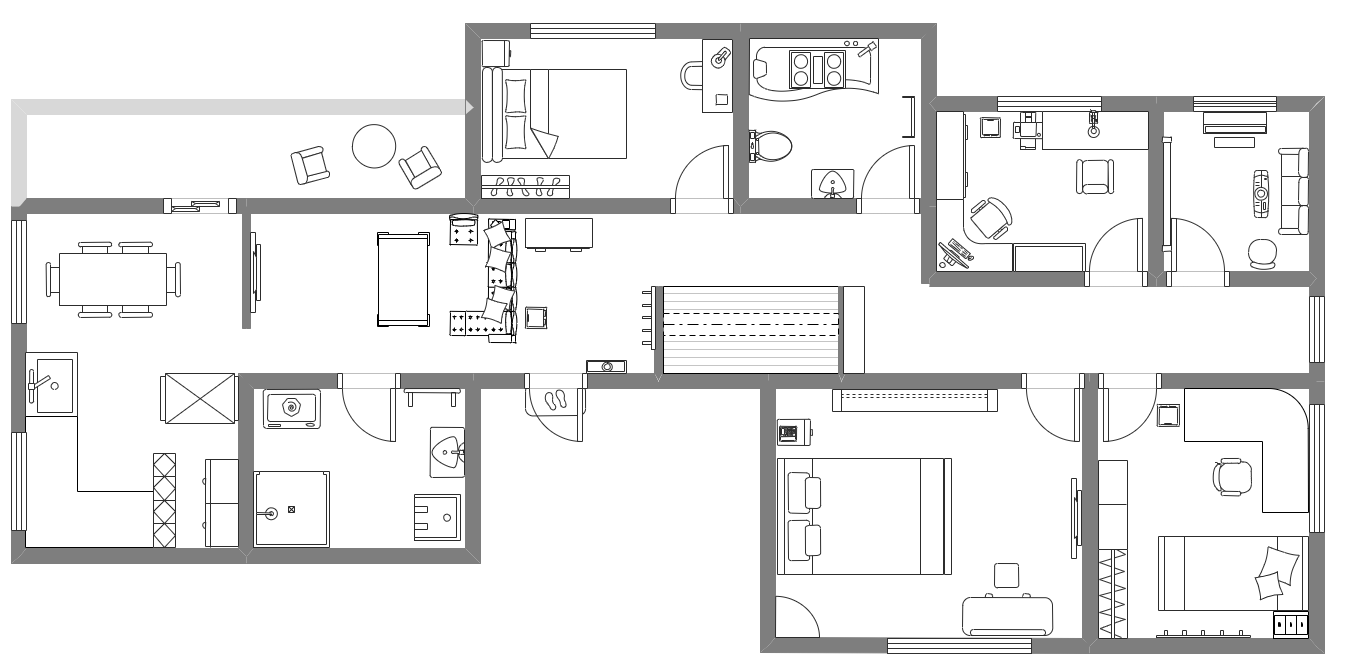
Example 2: Apartment Blueprint Example
The following is an apartment blueprint example illustrating three bedrooms, an audio-visual room, a study room, two bathrooms, a dining room, a comprehensive living room, and a fitness area. Blueprint designs are one such architectural tool that bonds between physical features such as rooms, spaces, and entities like furniture in the form of a scale drawing. Remember to add the right symbols and legends while creating such extensive apartment blueprints, as it might be confusing for others to check and relate with the drawing.
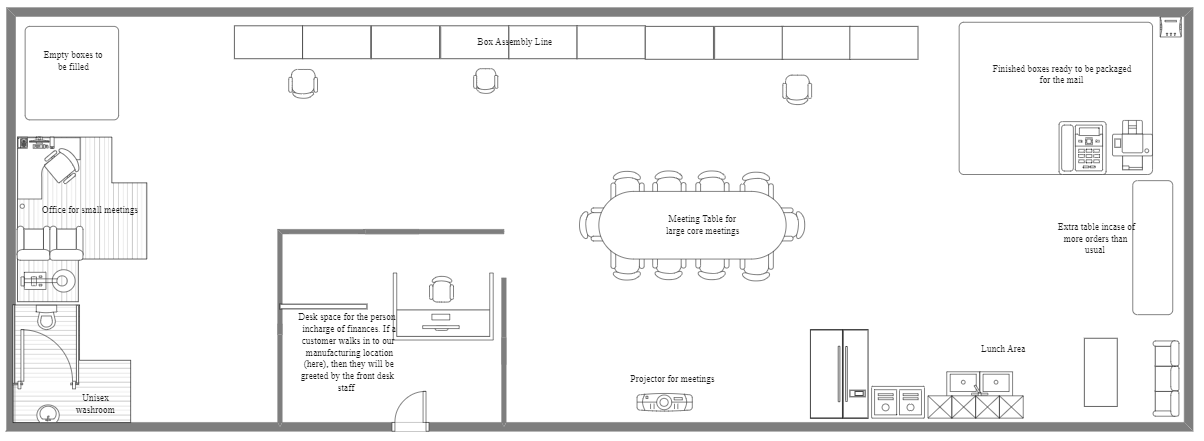
Example 3: Office Space Blueprint
In architecture and construction engineering, blueprint designs are drawings drawn to scale. From the top view perspective, such blueprints show the relationship between space, traffic patterns, and other structural elements at the structural level. Following is the example of an office space blueprint that shows multiple areas of the office, starting from conference rooms, pantry, washrooms, computer tables, and more.
Example 4: First Floor Apartment Blueprint
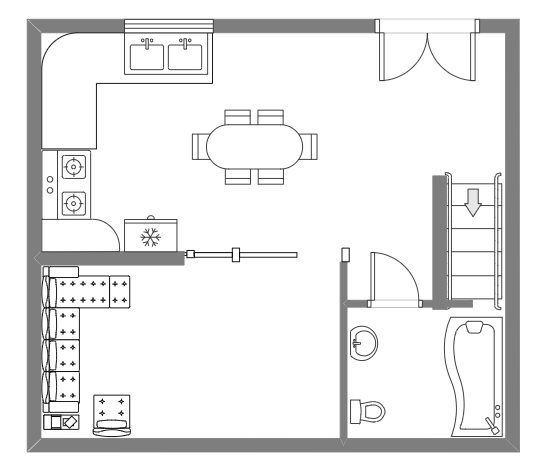
Following is the first-floor apartment blueprint that visually represents the necessary features and elements of the house. In the following blueprint design example, we have added multiple pieces of furniture that will go along with the room. It should be noted here that by creating such blueprints, you can do multiple experiments with your design before settling down to the final setup.
12. Free Blueprint Maker
Even though architects do not use blueprint designs these days, they heavily rely on floor plans, pre-construction plans, roof plans, and more, which become a solid blueprint design. As you saw from this extensive guide, creating a blueprint design with EdrawMax is simple, elegant, and efficient. The 2D blueprint maker comes with several other important features, like:
Key Features of EdrawMax:
- This free blueprint maker lets you create all the types of blueprints in one single canvas, allowing you to retain the dimension and scale of the house in every design.;
- With EdrawMax, you can never go wrong with any design. The entire drawing board is vector-enabled, which means that all the designs and formatting that you do are fully scalable;
- In the EdrawMax canvas, you will find a focus mode to concentrate only on the important drawing parts;
- With a good stable internet connection, you can access over 5,000 different diagramming templates from the template community;
- This free blueprint maker comes with an online version that lets you easily collaborate with your team members in real-time;
13. Final Thoughts
Even before any work happens on a building, we always work on the blueprints. It will not be wrong to say that blueprints are the foundational elements of any building project. Whether you are working on property grading, structural layout, plumbing, electrical, or HVAC, you need a tool equipped to handle all such drawings.
EdrawMax comes with free templates, symbols, great customer care support, free version and is backed by the trust of over 25 million registered users. With EdrawMax, creating and sharing blueprint designs is extremely simple and convenient. In most cases, you will always find the theme and template that matches extremely close to your house design planning. Even if you do not get any template that matches your vision, you can take the help of thousands of vector-enabled symbols to create the blueprint for your construction project.
Floor Plan Complete Guide
Check this complete guide to know everything about floor plan, like floor plan types, floor plan symbols, and how to make a floor plan.
You May Also Like
Building Plan Complete Guide
Knowledge
Security Access Plan Complete Guide
Knowledge
Reflected Ceiling Plan Complete Guide
Knowledge
Plumbing & Piping Plan Complete Guide
Knowledge
Elevation Plan Complete Guide
Knowledge
Wardrobe Plan Complete Guide
Knowledge

