Simple Guide on Creating a Workflow Diagram for Word
A workflow diagram is a visualization of work which shows the flow of work through the organization and the diagram can be used for alignment and agreements between departments to optimally work together.
Edraw workflow diagram creator is such a professional application with following handy features which catch more and more people’s attention.
- Easy to start
- Various flowchart templates
- Automatic formatting
- Resourceful data insertion
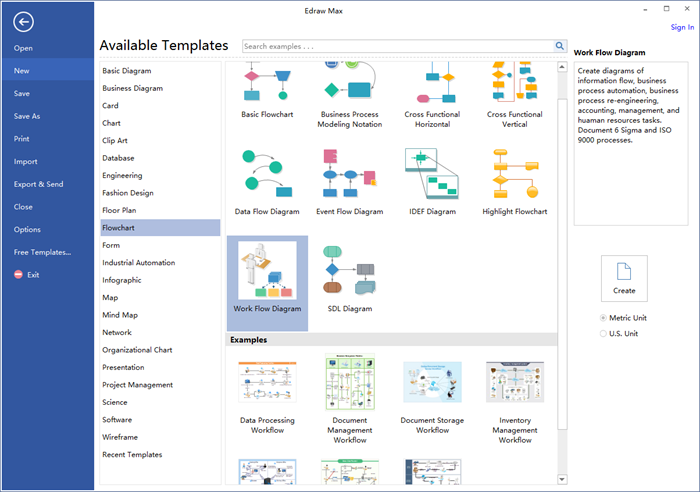
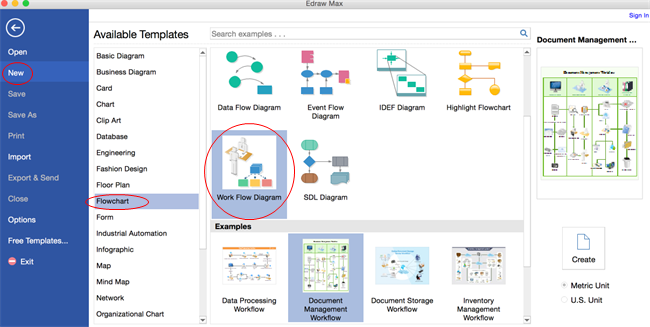
Step 1. Open a Blank Drawing Page
Creating workflow diagram with Edraw saves you lots of time and energy since it has already finished almost everything.
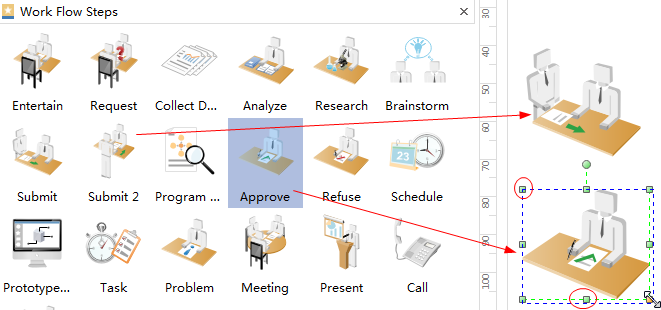
Step 2. Add Workflow Symbols
Drag the workflow symbols you need from left libraries and drop on the drawing page.
Step 3. Add Contents
Double click the symbols and add the key words, then click any blank area on the page to finish typing.

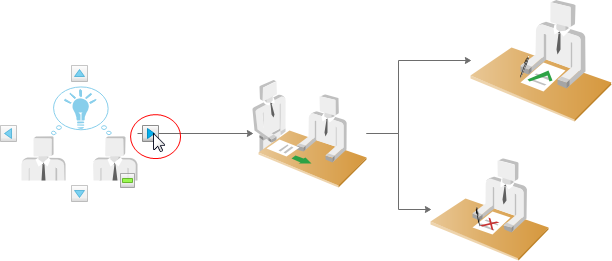
Step 4. Connect the Symbols
- Connect workflow symbols by clicking floating button around
- Choosing a proper connector in Connector under Home page.

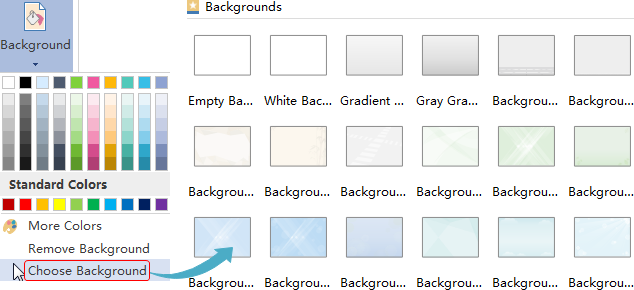
Step 5. Add Background
Choose background from left libraries or go to Page Layout and click Background to choose a background you like to make the diagram more professional.
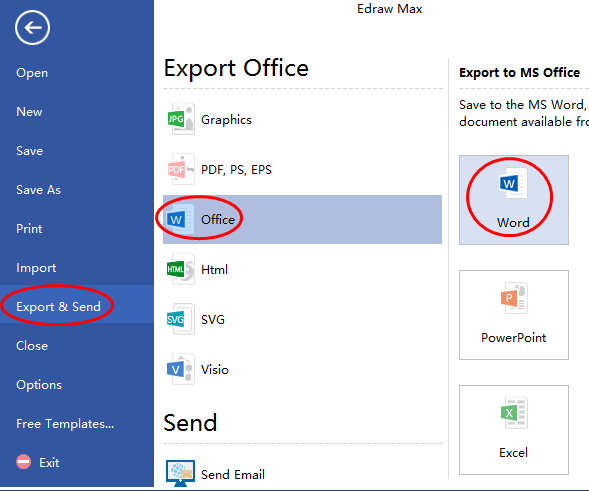
Step 6. Export Workflow Diagram to Word.
- Hit Export & Send under File menu, select Office and click Word, then browse your computer to find a location to save the workflow diagram in Word format.
- You can also click Save on File tab to save the diagram as the default format .eddx. Or choose Save as on File tab to save as other formats. Save in local files or save in your Cloud is up to yourself.

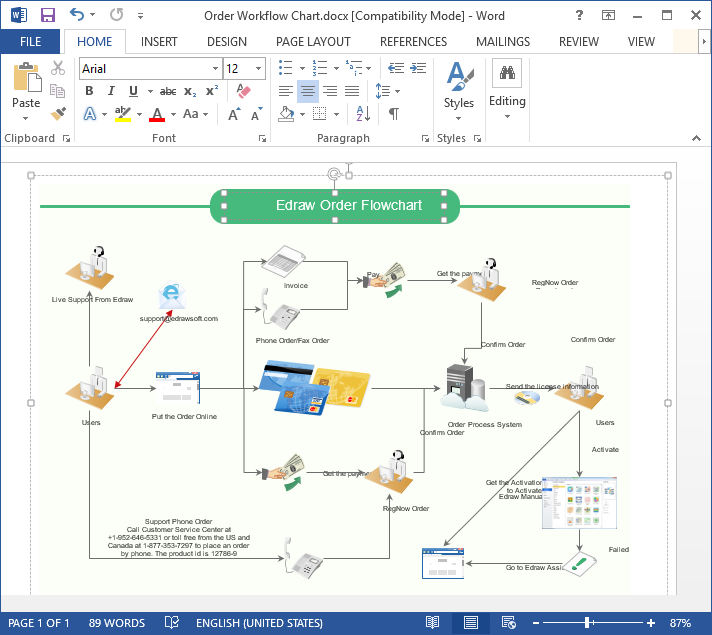
See attached the created workflow diagram for Word. This Word workflow diagram can also be edited such as contents, shapes colors and so on.
Give Edraw workflow diagram software a shot. Download and try it for free.
