How to Create a Workflow Diagram for Excel Quickly
If you are looking for a workflow diagram maker to create a workflow diagram for excel, you will have a hard time finding a better program than Edraw workflow diagram creator.
Detailed Steps to Create a Workflow Diagram for Excel
Edraw workflow diagram creator has already prepared almost all the things, users just need to click mouses to finish following simple steps.
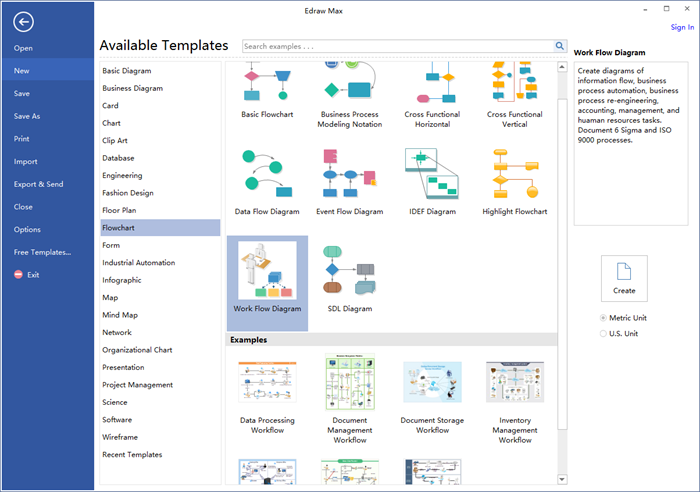
Step 1. Start Edraw, go to the File menu, click New > Flowchart, then double click the icon of Work Flow Diagram to open a blank workflow drawing page. You can also get started quickly by choosing a pre-made workflow diagram template.
Step 2. Drag and drop relevant workflow symbols from left libraries.
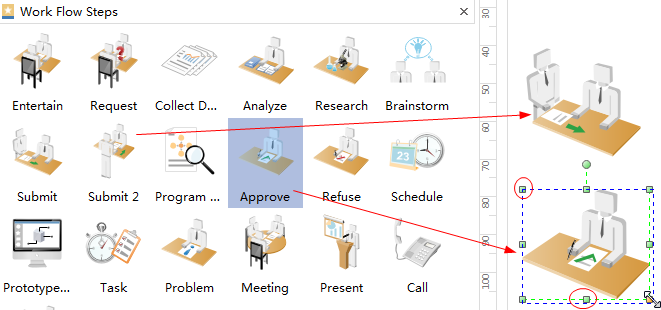
Step 3. Double click the symbols to add key information and finish typing by clicking any blank area on the page.

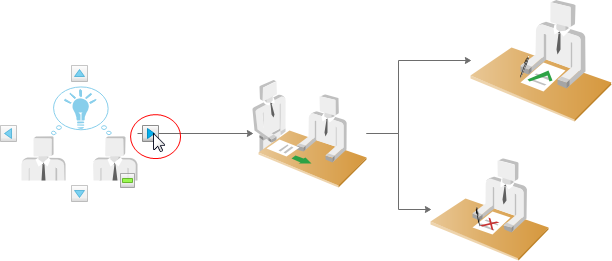
Step 4. Click floating buttons around to connect workflow symbols or choose a proper connector from Connector.

Step 5. If you are not satisfied with the current theme, just go to Page Layout and choose a theme you like from built-in themes.

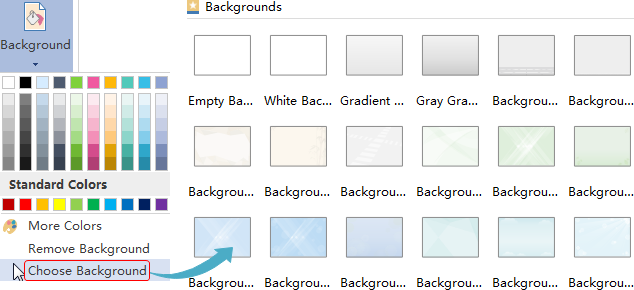
Step 6. Go to Page Layout and click Background to choose a background you like to make the diagram more professional.
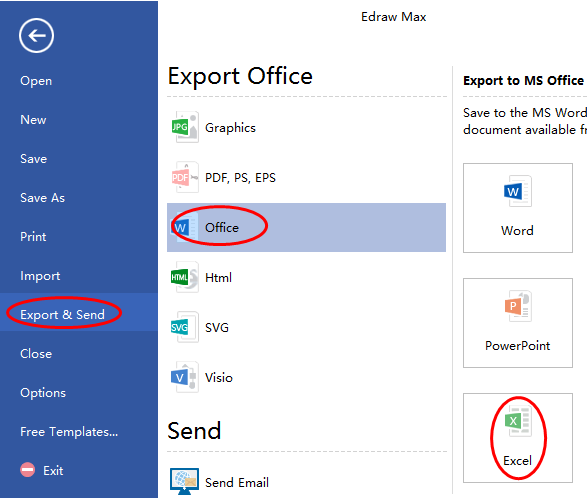
Step 7. Hit Export & Send under File menu, select Office and click Excel, then browse your computer to find a location to save the Excel workflow diagram.
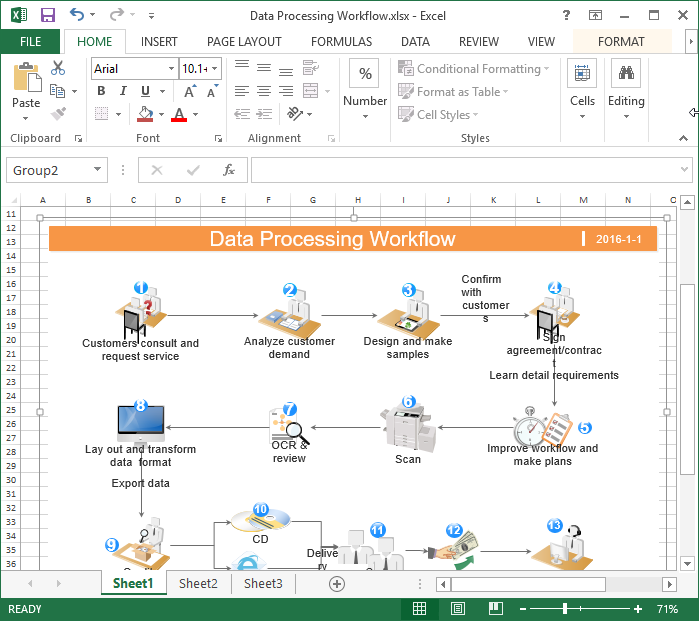
Here attached the converted excel workflow diagram. You can also make changes to it such as editing the contents, changing the size and shapes, etc.
Software to Create Workflow for Excel
People like Edraw because it has a large quantity of pre-made standard workflow symbols and numerous well designed templates. They do not need to draw the shapes by themselves and just get started with built-in templates. It is such a smart program that it can connect, align and space symbols automatically which saves people a lot of time and energy. Nobody would not like this easy and smart software.
Give Edraw workflow diagram software a shot. Download and try it for free.
