How to Draw Lab Equipment Diagrams
Common Uses of Lab Equipment Diagrams
Lab equipment diagrams are very useful especially in education field. They can greatly benefit teachers and students, bringing classes to life. Teachers can use lab equipment diagrams to plan and deliver lectures smoothly.
Students can use such kin of diagrams to analyze, summarize and memorize knowledge easily in an easy-to-understand way.
Lab managers can use some visual aids to introduce laboratory safety instructions.
Science researchers can carry out studies better with visualized lab experiment diagrams.
Parents can also have some small quiz on children aided by visual diagrams created by Edraw - a comprehensive diagramming package with easy science diagram solutions.
Make Lab Equipment Diagram in Easy Software
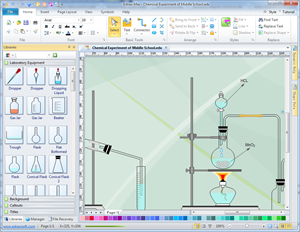
To save time and energy, drawing diagrams aided by software is surely a much better option than hand drawing. Aimed at easy and fast diagramming, Edraw's science diagram solutions are featured with high quality shapes, professionally designed templates and advanced functions. Have a look at its intuitive interface. You can also learn more about the lab equipment software here. Download ScienceDraw
Construct Lab Diagrams with Predefined Shapes
A set of predefined lab equipment shapes are provided in the program to enable users of all abilities to make lab equipment diagrams easily. These symbols are highly scalable, easily editable and color changeable. If necessary, users can also separate them to form new shapes. See how to use lab equipment shapes through screenshots.
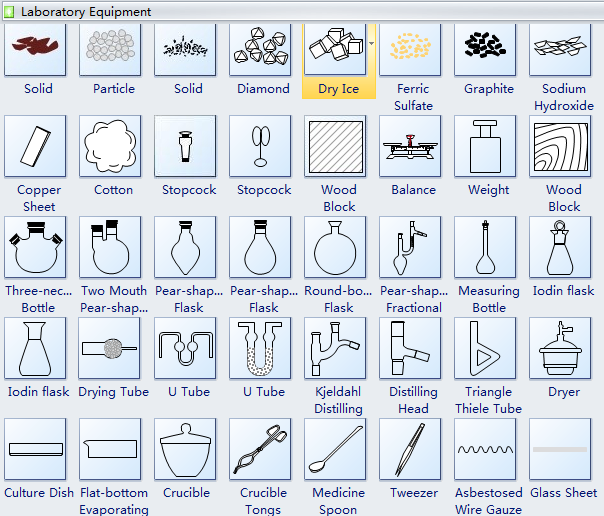
Create Visual Lab Equipment Diagrams in 4 Easy Steps
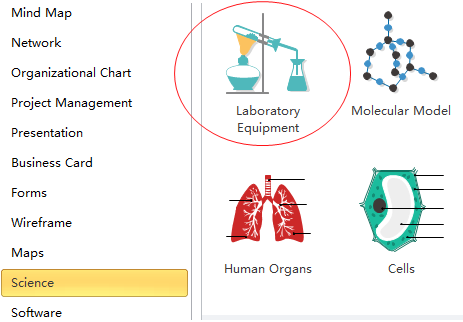
1. Open the lab shapes stencil. Start Edraw. -> In the "Available Templates" pane, choose "Science". -> Move the pointer to the right and double click the icon titled "Laboratory Equipment".
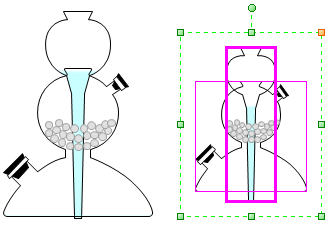
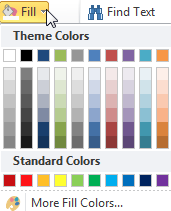
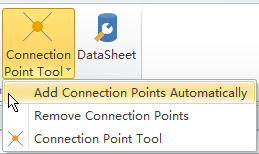
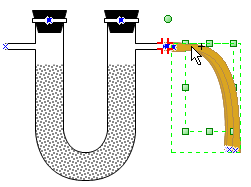
2. Map out the diagram with predefined shapes. Drag and drop suitable shapes onto the drawing canvas. -> Resize them by dragging the green square handles. -> To recolor shapes, click Fill and choose another color from the drop down menu. -> Some shapes are designed with connection points. If not, go to Symbols tab and then activate Connection Point Tool to add connection points. -> Connect shapes.
|
|
|
|
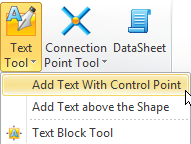
3. Label the diagram. Double click the connector to enter text. You can also add text box to shapes. Select the shape. -> Under Symbols tab, click Text Tool. -> Click Add Text with Control Point or Add Text above the Shape. -> Double click on the target shape. -> Type in text.
4. Polish and save the diagram. In Home menu, choose a theme that matches your diagram best. -> Save the diagram or exported it into another format.

Create Lab Diagram from Template
Here is a well-designed lad experiment diagram template. You can get started from it as quickly as possible.
