Create Organizational Chart on Mac
Create an organizational chart in the fastest and easiest way with automatic software program. Learn this amazingly simple way right now.
Open an Organizational Chart Template
Open a blank drawing page and the library including shapes needed for creating Organizational Charts for Mac.
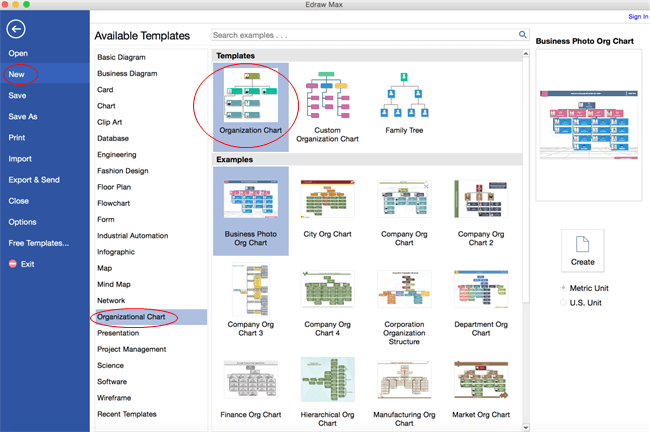
On the File menu, point to New.-> Click Organizational Chart, and then double click the icon of Organization Chart in templates window. (Download Organizational Chart Templates for Mac Here.)
If you have the excel data, you can visit the link to learn how to create organizational chart from excel data.
Video - How to Create Organizational Chart
Add Organizational Chart Shapes
From the left library, drag and drop the shape to the canvas. Click the floating action buttons to add colleague and subordinate shapes.

To add assistant shape, go to Org Chart tab and then click Add Assistant button.

Format Organizational Chart Shapes
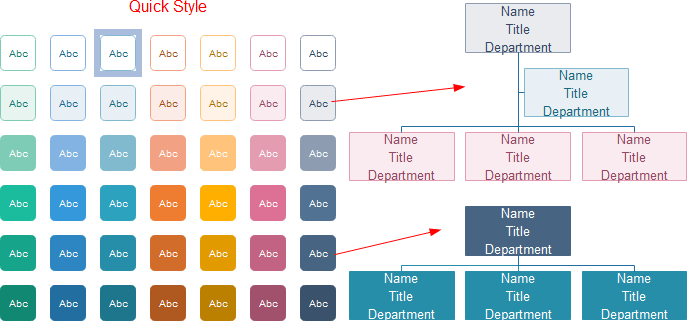
Change a shape's color and border by clicking any style under the Home tab in the Styles group.
Alternatively, use the Fill and Line tools in the format task pane to the right of the canvas.
Add Organizational Chart Contents
- Double click a shape to type in text. -> Press Ctrl + 2 to add more text boxes. Press Ctrl + shift + 2 to adjust text box.
- Choose a different font under Home tab. Customize the size, color and alignment by clicking the relevant menus.
Change Organizational Chart Theme
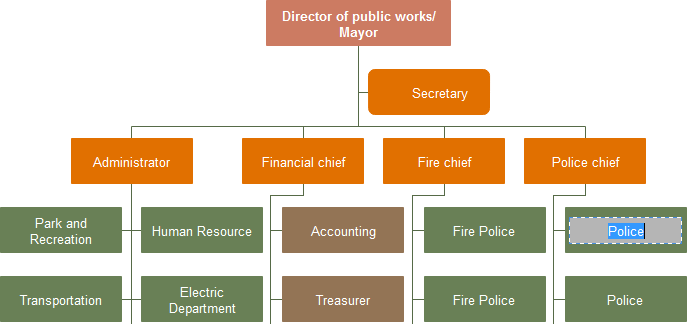
By changing Organizational Chart theme, you can enhance fill, line and text style altogether at 1 click.
Switch to Page Layout tab, select another theme.

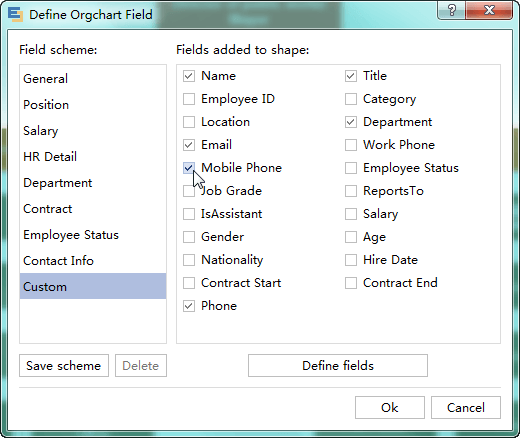
Define Field
Click Define Field button under Org Chart tab to add more fields to all shapes in the chart.
Set Display Options
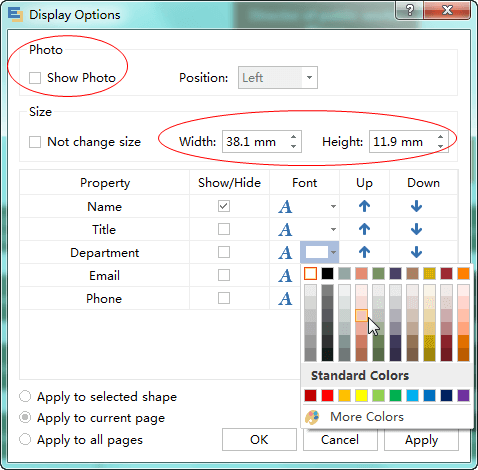
Through Display Options under org chart tab, you can show photo, change the width and height of all shapes.
And you can also specify the font and color of a certain field. Click the arrows to move a field up or down.
You can apply the above changes to selected shapes, or the current page or all pages.
Add a Photo
Click "Display Options", and from the pop-up dialogue, enable "Show Photo".
Select a card and click "Change Photo" button to upload your own photo on the card.


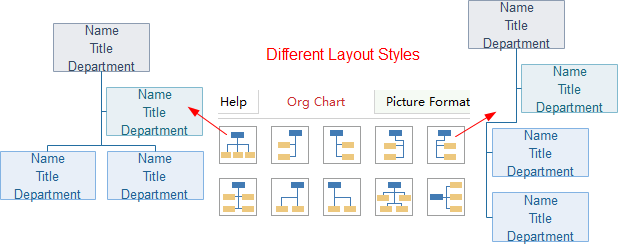
Layout Organizational Chart
Choose the most suitable layout style for your organizational chart in the Layout group under Org Chart Tab.
Save or Export Organizational Chart
Click Save on File tab to save as the default format. Choose Save as on File tab to save as other formats.
You can choose to save in local files or save in your Cloud. Saving it in Team Cloud can share it with more people.

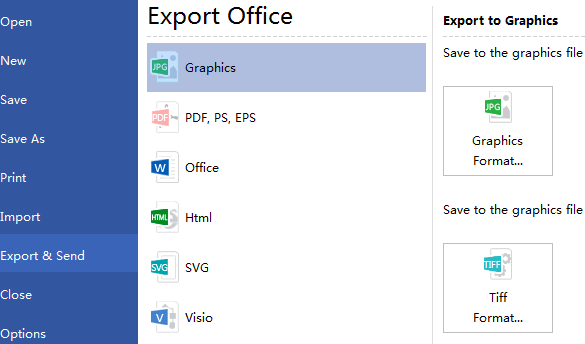
Hit Export & Send under File to export the organizational chart as images, presentation slides and web documents and so on.
Print Organizational Chart
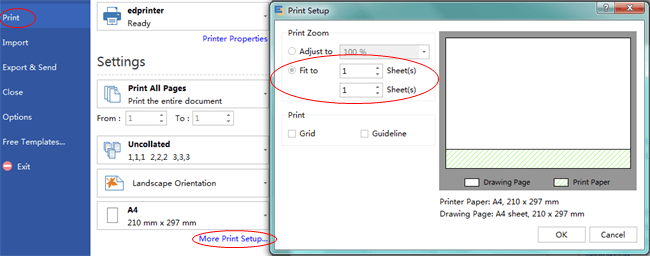
Click File tab and then choose Print to enter print setting and preview window. You can specify the print range and copies here.
If the drawing page is larger than the print paper, the drawing will be printed on more than 1 paper.
To print it on only 1 paper,
click More Print Setup... and then choose Fit to.
