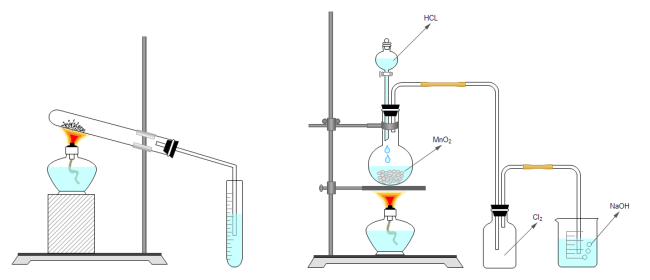
Chemical Laboratory Equipment Shapes and Usage
Do You Want to Create Your Laboratory Equipment Diagram?
EdrawMax specializes in diagramming and visualizing. Learn from this article to know everything about laboratory equipment and create your own diagram with ease. Just try it free now!
While performing an experiment in the lab, especially when it comes to chemistry, you would come across different laboratory equipment. There are beakers, funnels, various types of flasks, droppers, and much more. Before starting your experiment and dealing with chemicals, it is essential to know what each piece of equipment’s shape represents.
The labels on each piece of equipment let you know what you’ve picked up, and that is where you decide whether it’s the right piece of equipment for your experiment. Not knowing which one can lead to mistakes and perhaps not get you the result you were hoping for.
Here in this article, we’ve listed some of the most basic laboratory apparatus drawings of chemistry lab equipment. By the end of the article, we’re sure you’ll be able to recognize the most common ones used in your labs.
Want to create your own laboratory equipment diagram now? Click here to get one template to help you!
List of Basic Chemistry Lab Equipment
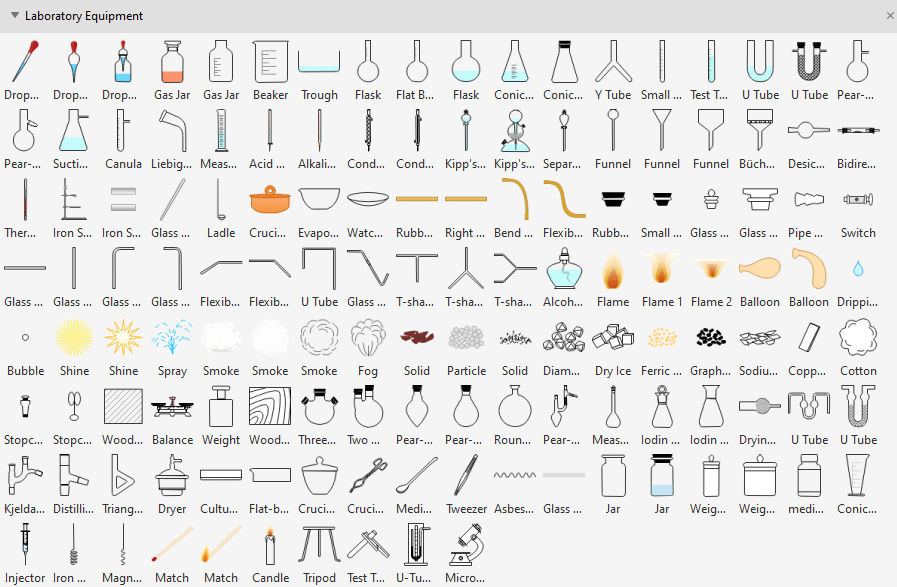
As mentioned above, the essential equipment in chemistry labs includes crucibles, funnels, watch glasses, beakers, and flasks. Below is an extensive list of equipment for chemistry laboratories, what they’re used for, how they’re used, and how they look in software that helps you design such shapes. (pictures of real equipment from owlcation.com)
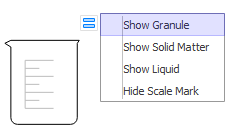
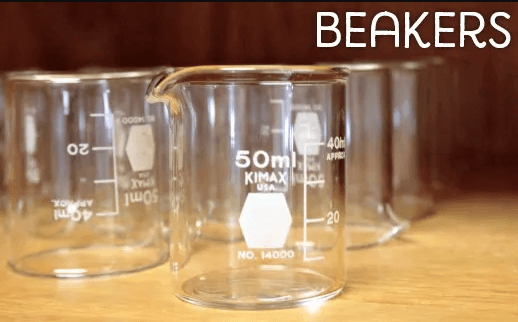
Beakers are cylindrical containers with a flat bottom. They are used to measure the volume of liquids but are not as precise as pipettes and burettes. You can also distinguish it from a flask by looking at the sides; the sides are upright instead of sloped. Here’s how it looks like:
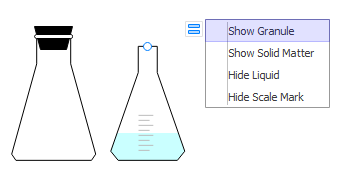
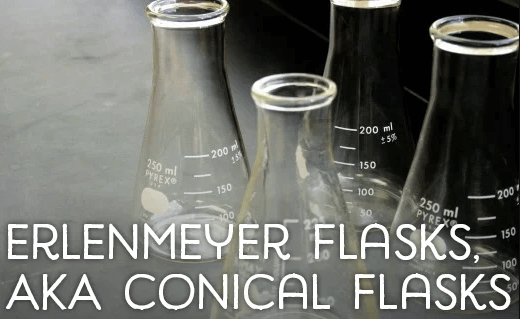
Conical flasks are flasks with a flat bottom, a body in the shape of a cone, and a cylindrical neck. They have wide bases, and the sides are tilted to move towards the center as you go up. Conical flasks are usually used in the mixing of chemicals and titrations. Because of its shape, the risk of spilling is very low, which makes it convenient for mixing. Here’s how it looks:
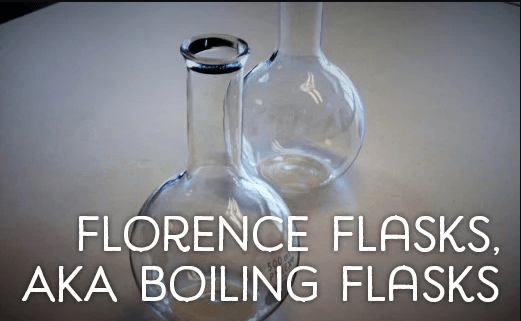
Boiling flasks are round in shape and come with both flat and rounded bottoms. The ones with round bottoms will, of course, need external support to stay upright. The boiling flasks are used to heat chemicals inside. They are made of borosilicate glass; it is a good heat conductor while strong enough not to melt due to the heat. This is how they look:
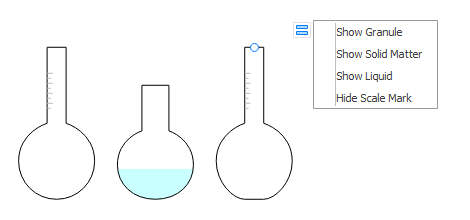
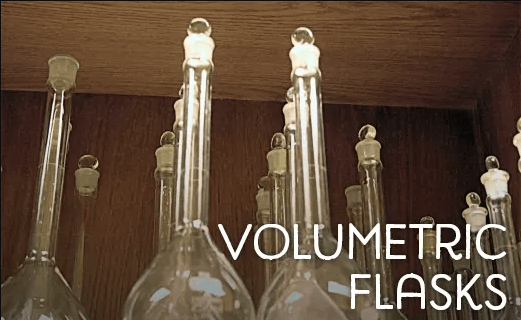
Volumetric flasks are round in shape, have a flat bottom and a long, slim neck. It is one of the most accurate ways to measure the volume of liquids. They also come with a cap on top to make sure no particles escape.
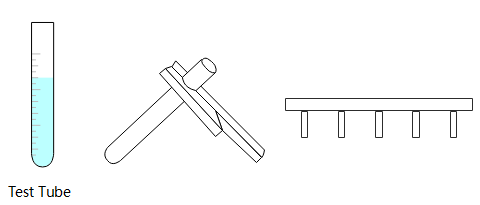
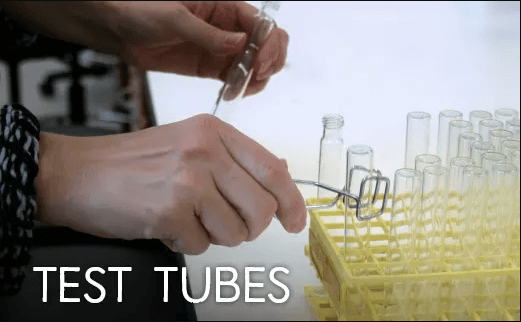
Test tubes, tongs, and racks: Test tubes are usually made of glass and are almost as long as your finger. They are closed at the bottom and open from the top and are used for general chemical work. You may use it for mixing, dissolving, and also heating to some extent. Tongs are used to hold these test tubes since they may become hot at times. A bunch of test tubes together are put in a rack, so they stand upright. The following pictures show how they look in a lab equipment shape designing software:
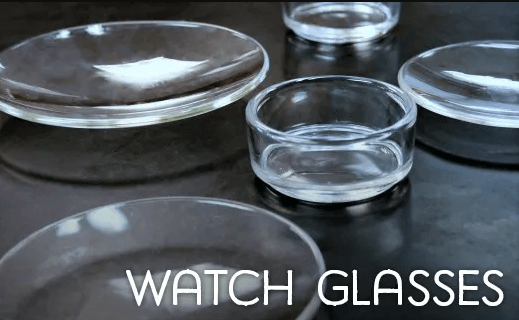
Watch glasses is a circular piece of glass that is concave in shape. It is often used to hold and weigh solids as well as the cover for beakers. You can also use watch glasses to separate dissolved solids from the solvents by applying heat. This is how they look like:

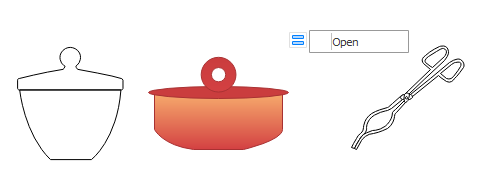
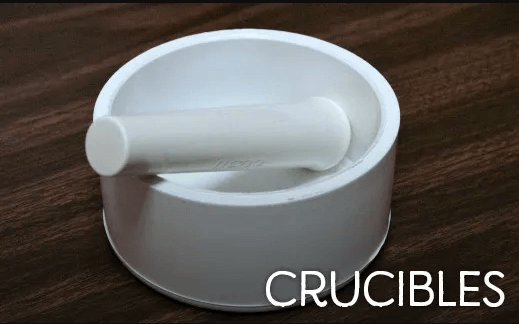
Crucibles are small-sized cups usually made of clay. They are capable of withstanding high amounts of heat, and therefore, they are used to heat substances at higher temperatures. Here’s how a crucible looks:
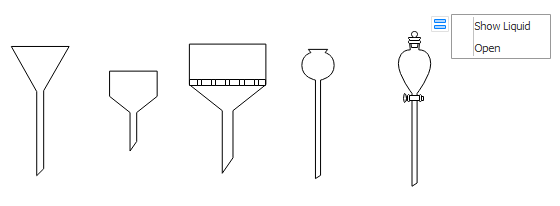
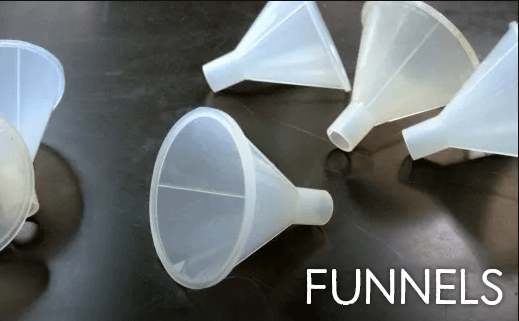
Funnels are used for the easy pouring of liquids from one container into another. A funnel makes it easy to pour without spilling the liquid on the surface because of a bottle's tight neck. They come in different sizes and are commonly made of plastic or glass. Below is a picture of how it looks like in a laboratory setup:
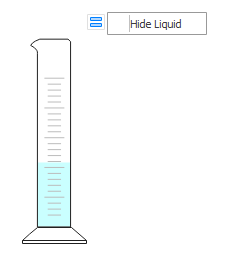
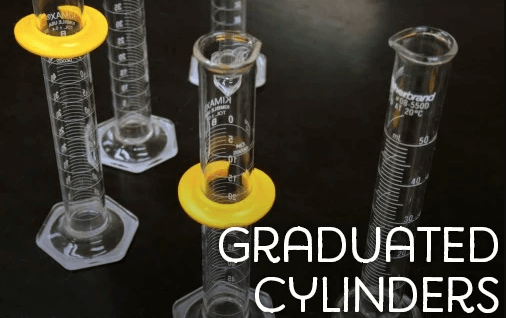
Graduated cylinders are the most common pieces of equipment to measure the volume of liquids. They are more accurate than beakers but hold in a lesser amount because of the smaller diameter. It comes with marking on one side for you to measure the volume accurately – hence, the name "graduated cylinder." Here's how to identify one in a laboratory:
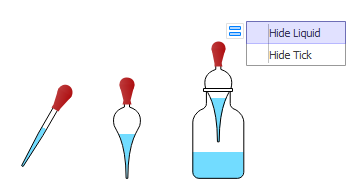
Droppers are little tubes made of glass that can hold liquids in small amounts. They come with a pump on the back that helps you suck in liquid and then squeeze it out as drops.
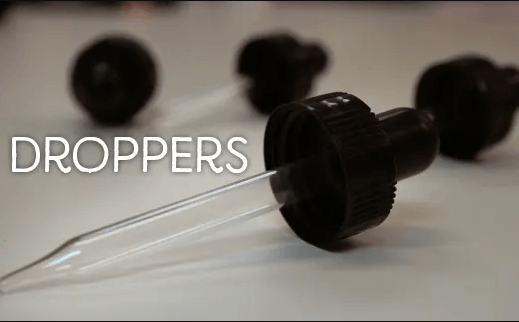
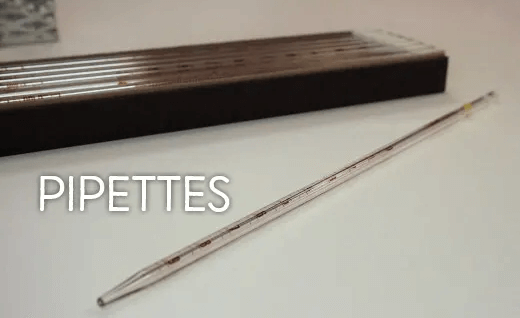
Pipettes are another way of measuring the volume of liquids. They are far more accurate than flasks and measuring cylinders of any kind. They are sometimes used to hold liquids if you intend to transfer them from one container to another.
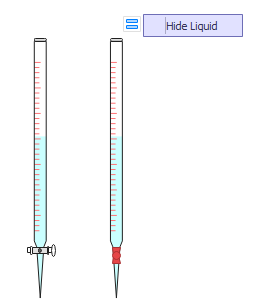
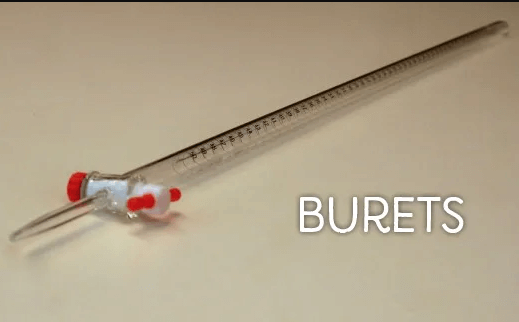
Burettes are also volume measuring devices; however, they are used in measuring how much liquid has been discharged. You can also use burettes to perform titrations. You can adjust the clamps to adjust the flow of the liquid.
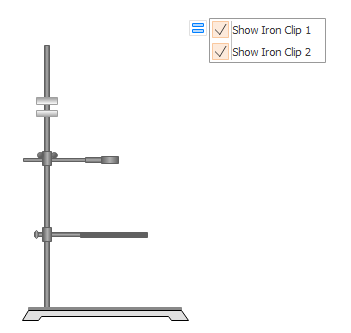
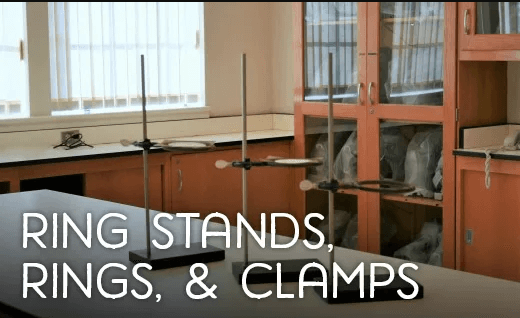
Ring stands, rings, and clamps: Ring stands are used to suspend beakers, flasks, etc., usually above a heat source. Clamps are used to ensure a firm grip on the containers.
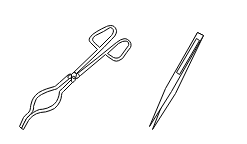
Tongs and forceps are used to handle, hold and grab containers of different kinds. Tongs can hold wider tubes, while forceps usually work on smaller containers like graduated cylinders and test tubes.

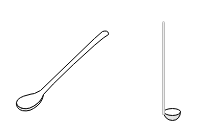
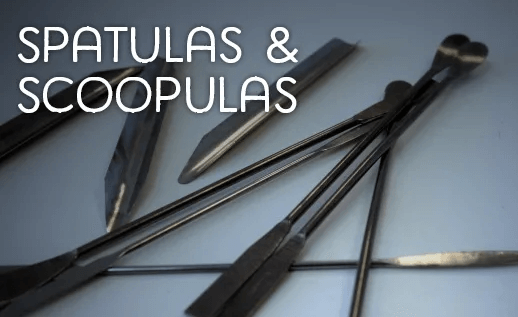
Spatulas and scoopulas are used to scoop out chemicals and solids out of containers and onto a crucible for weighing. They are also sometimes used to mix chemicals.
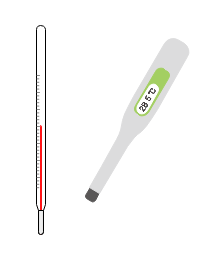
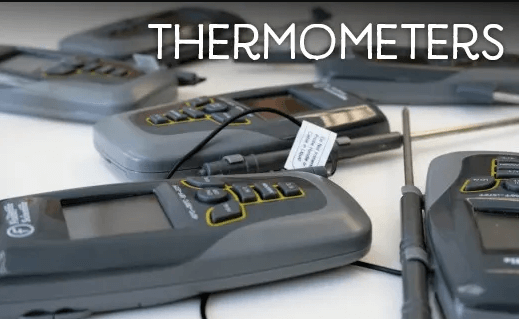
You can use a laboratory thermometer to check the temperature of chemicals, or sometimes to check the temperature rise as well. They can be electronic or have a mercury tube as well.
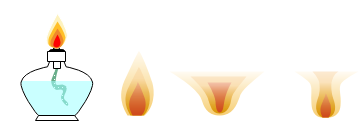
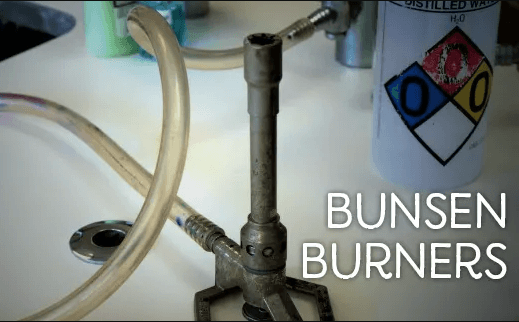
Bunsen burner is a burner that is connected to a heat source. It comes with an adjustable knob that allows you to control the heat pressure to ensure you have the right amount of heat for your experiment.
Gas Jar: It acts as a container in which we prepare a solution or store liquids.
Acid Burette and Alkaline Burette: Both acid and alkaline burettes are used to transfer and measure liquids easily.
Kipp's Apparatus: The laboratory equipment takes a solid material and converts it into a gaseous state via liquid actions.
Desiccators: is a short glass jar fitted with an air-tight cover, containing some desiccating agent such as sulphuric acid or calcium chloride, above which the material is suspended to be dried, or preserved from moisture.
Glass rod: This handy laboratory equipment is a stirrer that is used to mix solutions.
How To Draw Lab Equipment Shapes On Your Computer?
Using EdrawMax should be the best way to draw the shapes we've discussed in this article. The software allows you to create new designs and shapes and even edit existing or pre-installed ones. It's available on both Windows and macOS and can be accessed online on the website or download the app on your computer.
EdrawMax also offers you plenty of templates to choose from. If you’re looking to get started on new designs and shapes of lab equipment, you can pick the one closest to what you have in mind and edit that template. This is undoubtedly an efficient feature that saves a lot of your time.
For a well-detailed laboratory apparatus drawing, here are the steps you need to follow on EdrawMax.
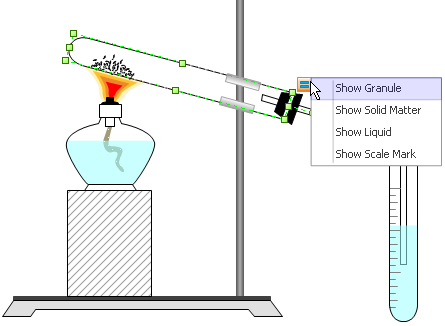
How to Draw Lab Diagrams with These Shapes?
To successfully create a lab diagram with the shapes listed in this article, follow the steps below.
Step 1: Download EdrawMax.
Step 2: From the home screen, use the sign-in option to log in to your Wondershare/Edraw account. If you don’t have one, sign up through the link right next to it.

Step 3: To create a new lab apparatus drawing, go to [New] tab, find [Science and Education], and then click on [Laboratory Equipment]. This is where you'll find a wide range of templates to choose from and edit as needed.
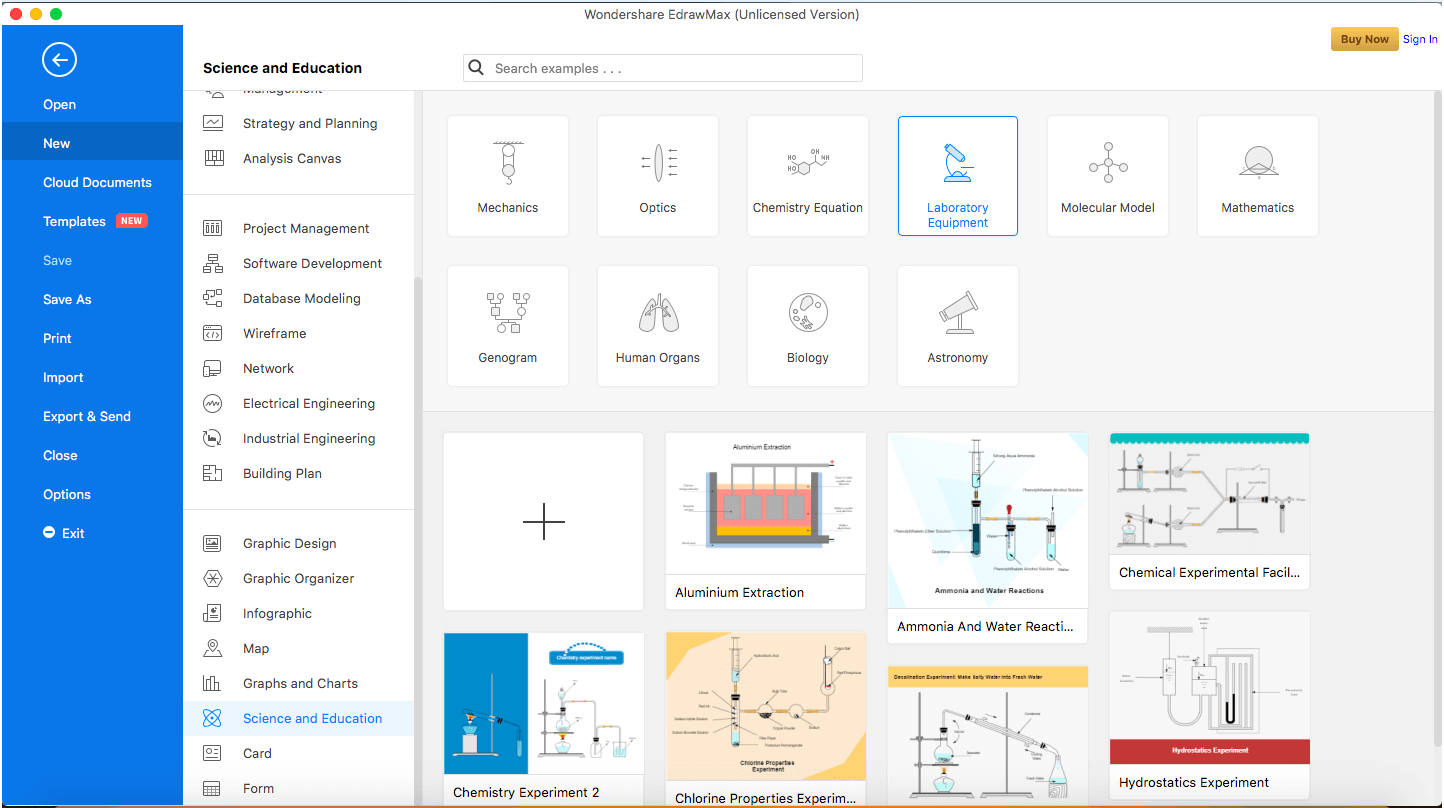
Step 4: To create a new one from zero, click on the “+” sign you can see in the picture above. This will open up your drawing sheet.
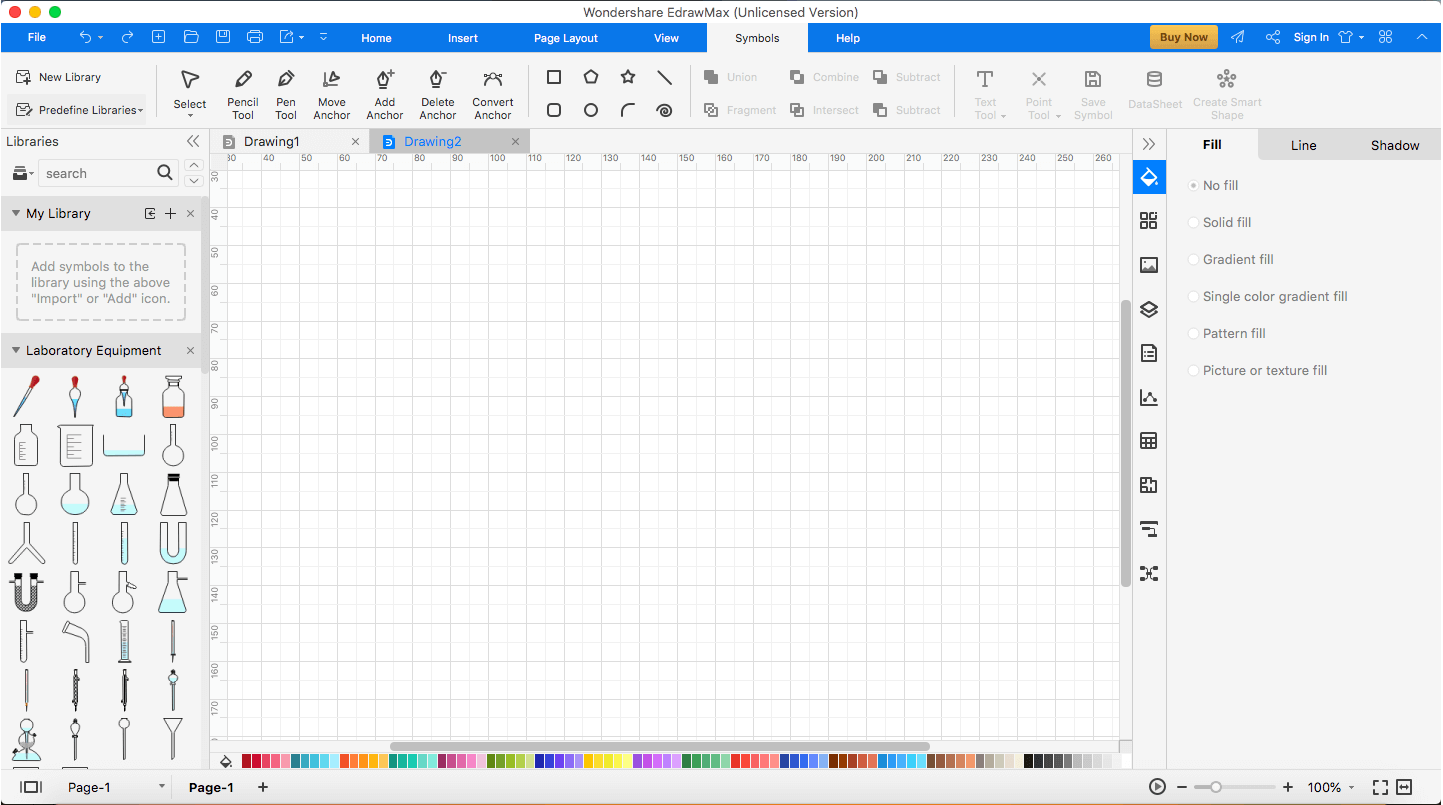
Step 5: To access the shapes and symbols we mentioned in this article, on your drawing sheet, go to [Symbols] > [Predefined Libraries] > [Science] and select [Laboratory Equipment].
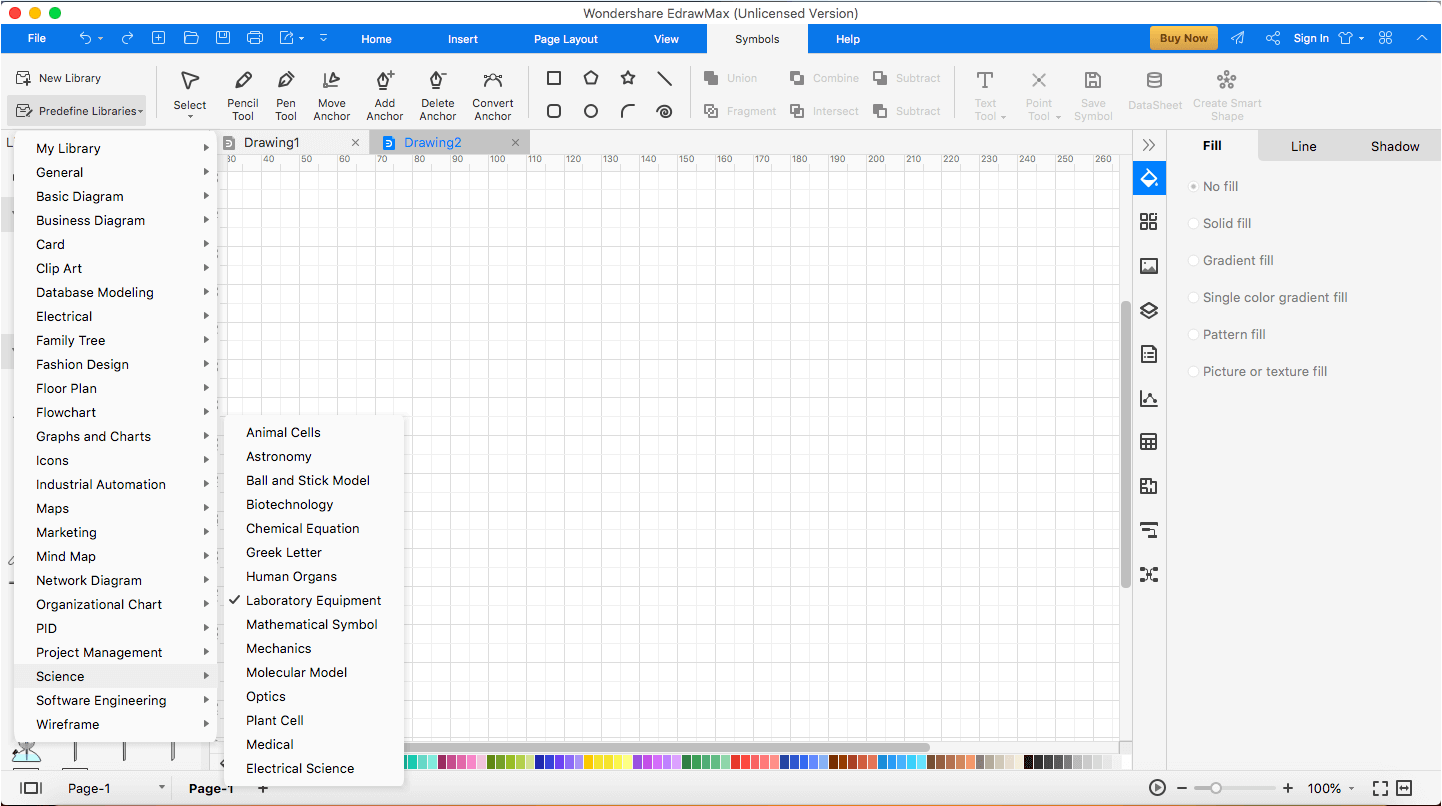
Step 6: Once done, you’ll be able to access them quickly from the left panel on your screen and use them in your drawing.

Knowing which symbols and shapes to use in your chemistry lab equipment drawing is crucial. A slight change in shapes and the person performing the experiment using your drawings can end up in a troubling situation.
Free Laboratory Equipment Diagram Templates
There are different kinds of laboratory equipment diagram templates, after downloading EdrawMax you can click the template you want and use it via EdrawMax free!
If you want to use these templates, you can click to download them. While The eddx file need to be opened in EdrawMax. If you don’t have EdrawMax yet, you could download EdrawMax for free!
Templates List
Lab Apparatus List Template
Chemical Experiment of Middle School Template
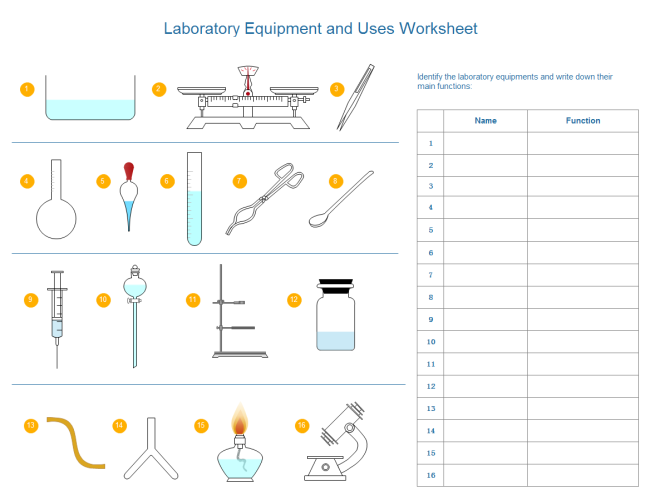
Lab Equipment Uses Worksheet Template
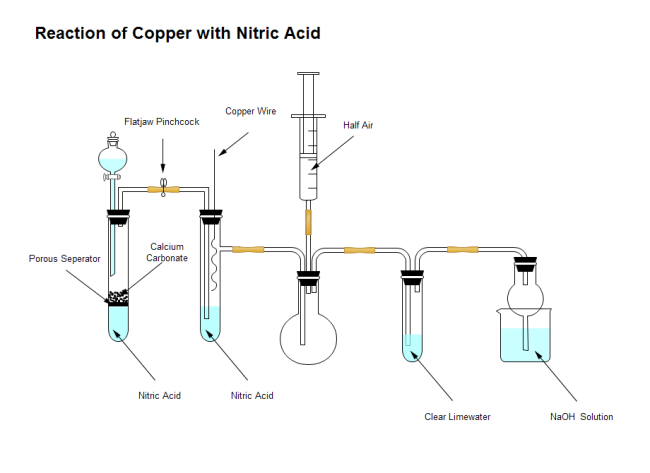
Reaction of Copper with Nitric Acid Template
Conclusion
With a simple, easy to navigate and very straightforward user-interface, EdrawMax makes sure your mistakes remain minimal while enhancing your productivity. Download the application by Wondershare and see it do wonders for you.
