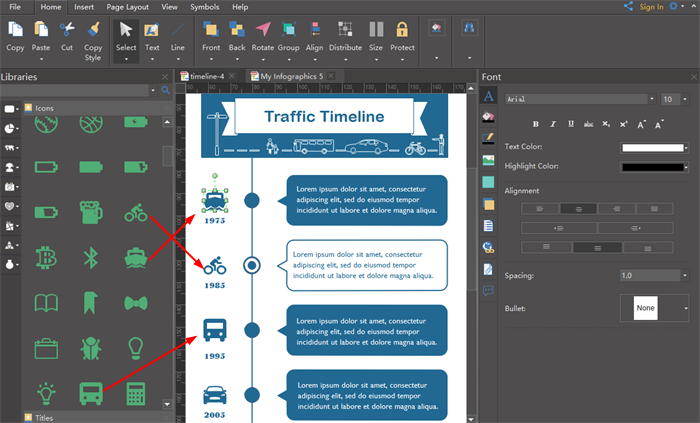
Create Timeline Infographics with Templates or from Scratch
Timeline infographic is an infographic showing a list of events in chronological order. With the linear structure, timeline infographic makes it clear for people to understand when each object appears on the stage.
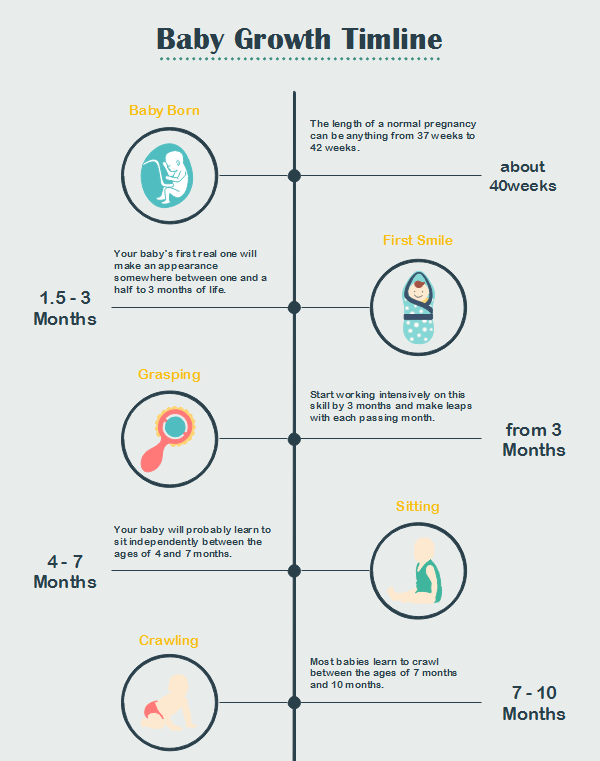
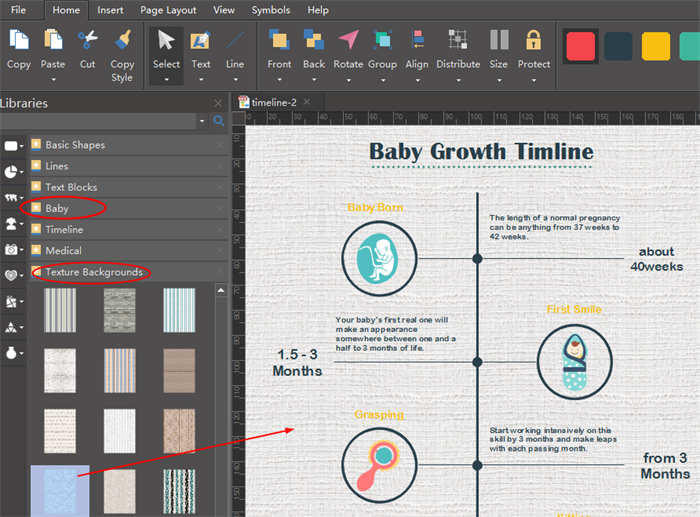
Timeline infographics are often used to portray history or display chronological steps of an event. For example, you can use a timeline infographic to display the history of a company, or show someone's life story. This timeline infographic tells the growth of a baby, which includes events, date of events, description, and pictures.
What to Consider Before Designing an Awesome Timeline Infographic?
Before creating a timeline infographic, you have to take several aspects into consideration:
- What do you use it for? For presentations, for social media or something else?
- What types of the timeline will you choose? Horizontal, vertical, or winding?
- How to create the visual hierarchy of information to attract the intention of your audience?
How to Create a Timeline Infographic?
First of all, you need to download an infographic maker. With this versatile maker, you can get all timeline templates from our there. If you want to design timeline infographics online, you can choose to start working immediately here at Edraw Max Online:
Step 1: Get the Content Prepared
Before start, make sure you have already collected all the information and finalized the content, because this will guide you to decide which layout or style you are going to use. Get these things clear:
- How many points (events) the timeline infographic will include?
- How detail the infographic would be?
- Will it contain pictures or not?
Step 2: Choose a Timeline Infographic Template
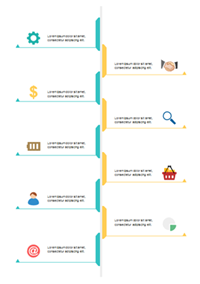
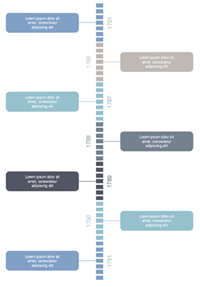
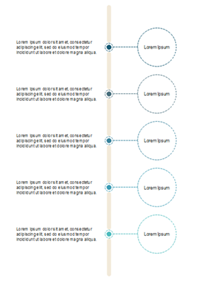
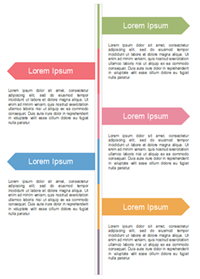
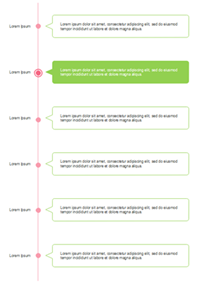
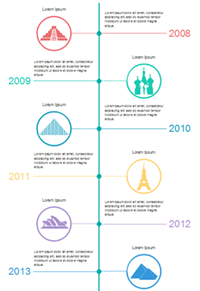
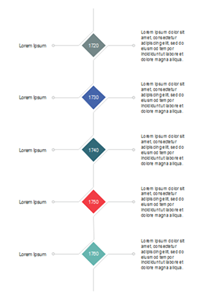
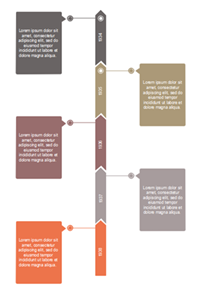
According to the anwers above, choose a timeline template from the library. There are a variety of timeline infographic templates for you to free download. Drag out from the library to see clear details and decide which one to use.

Step 3: Add Your Own Content and Personalize the Format
Drag and drop the timline you selected and start editing. Every detail can be edited. You can:
- Add text blocks to any location, change the font color, type and size.
- Recolor, replace, and relocation the shapes.
- Set event number.
- Add other cliparts or infographic elements from the built-in libraries.
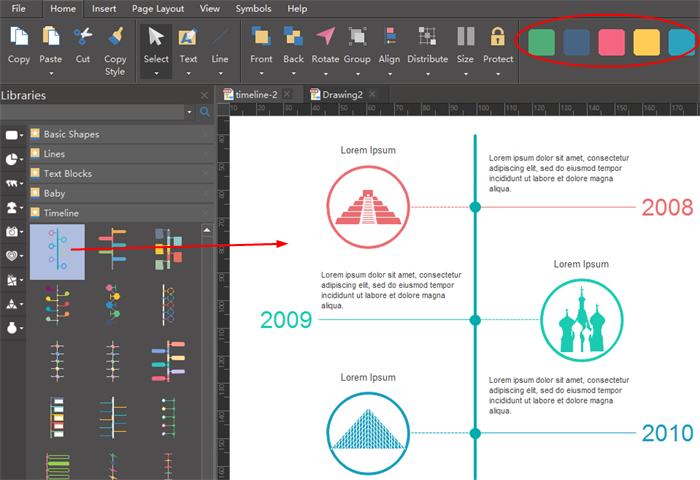
Above is the original template, and below is the one we customized. We changed the color of the lines and shapes, replaced the images, added a title, and changed the font. After that, we chose a background from the "Texture Background" library. PS: the cliparts of the little babies are mostly found in the "Baby" library.
Step 4: Start from Scratch
If none of the above templates suit you, you can design from scratch using our quick shapes such as line, circle, rectangle, flag, arrow, etc.
Add a Line
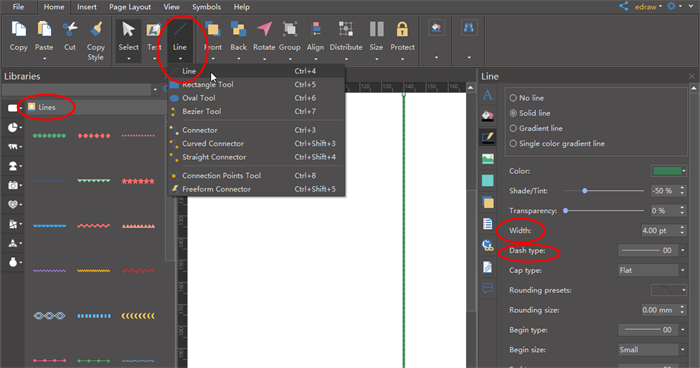
Draw a line with the line tool and set the line color, width, dash type or arrow from the line format tab on the right.
Add the Nodes
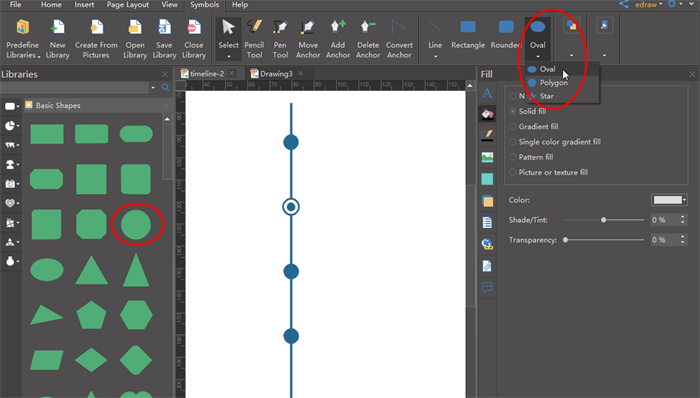
Use the Oval tool to draw a circle. You can draw two cirlces and overlap them to make the hollow style. Or you can open the Basic Shape library to use the ready-made circle shapes.
Add Text Blocks
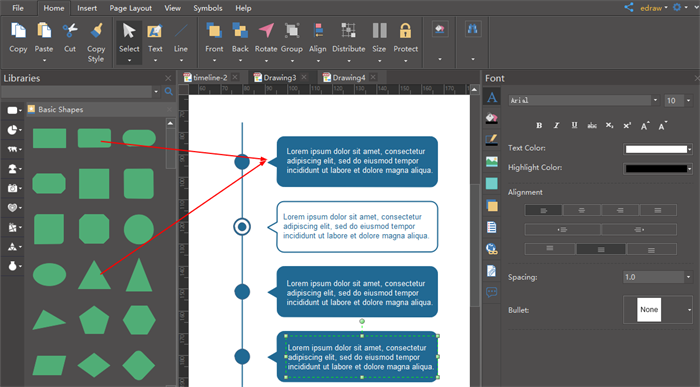
Design text blocks with the pre-made shapes. Use Union tool to make two shapes become one.
Add Embellishments
Embellishments will make the timeline more infographic. That means, with embellishment such as clip arts, icons, images, the timeline infographic will become more vivid and visually pleasing.
