EdrawInfo User Guide
Create an Infographic in 5 Steps
EdrawInfo is an ideal choice for making infographics, posters, flyers, brochures quickly and easily. You do not even need professional drawing skills, just drag and drop the shapes you need, then the infographic that you want is finished.
With a one-off payment, you can use all 10000+ infographic icons and hundreds of premium templates. No additional money is required. As an offline infographic software, you can use it regardless of internet connection. Therefore, it's far more fast stable, and powerful.
A few simple steps in EdrawInfo produce A-class high quality work. Our software is designed to be simple, direct and time-saving. It only requires a single drag to add a shape, few more for final touches, and that's it! You can customize the text with range of fonts, colors, text styles and sizes. On this infographics drawing platform, it is easy to do everything in the fastest way and after all, simplicity is what we aim for.
Page Setup
How to Choose Page Size and Orientation?
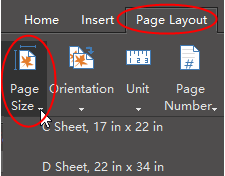
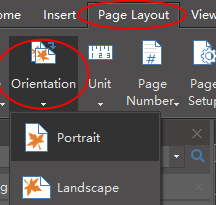
You can choose a page size from the predefined page size list and change page orientation from portrait to landscape.
- Choose page size in the drop-down list.
- Change page orientation.
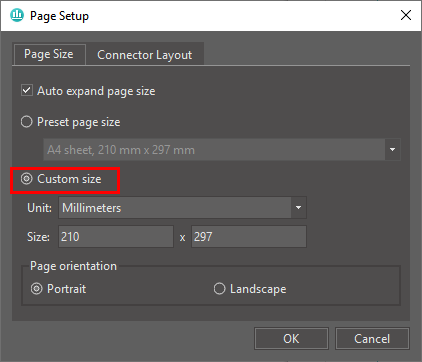
How to Set a Custom Page Size?
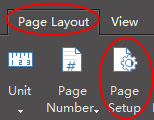
You can set any page size through Page Setup button.
- Go to Page Layout tab and click Page Setup button.
- In Page Setup window, select Custom size option, choose unit and type size numbers.
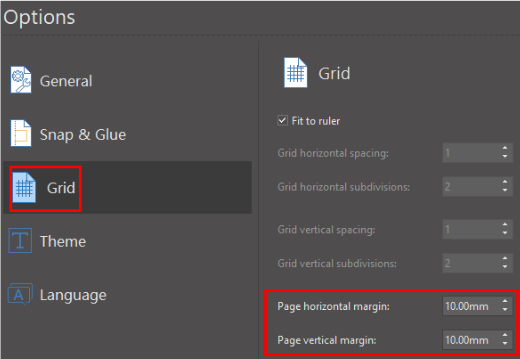
How to Set Page Margin?
You can set any page size through Page Setup button.
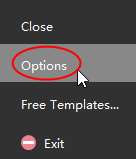
- Go to File tab.
- Click Options button.
- Choose Grid to set page margin

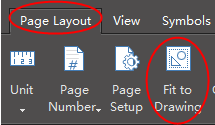
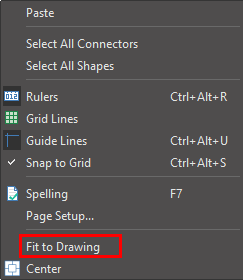
How to Fit Page Size to Drawing?
Fit to Drawing allows you to fit the page size to your drawing. There are two ways to set fit to drawing.
- Click Fit to Drawing on Page Layout tab.
- Right-click on the blank area of the drawing page and choose Fit to drawing.
Background Setup
How to Change Background Color?
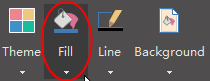
Click Background button on Home tab. You can choose the desired colors in the drop-down menu.
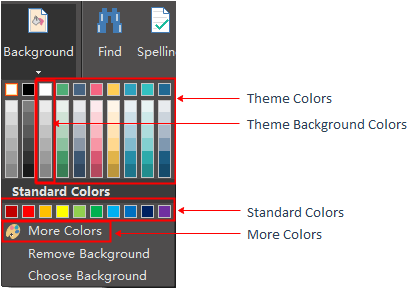
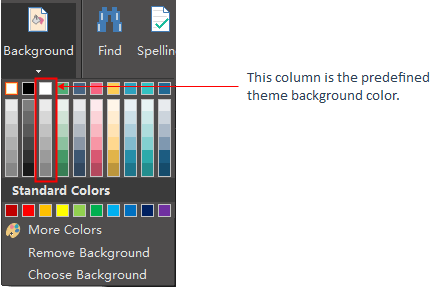
How to Use Theme Background Color?
Every theme has a theme background color. When you change a new theme, the background color will change accordingly.
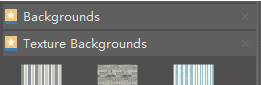
How to Choose Pre-defined Background?
You can use pre-defined background designs. Click Choose Background, and two background libraries will show up on the left, which are titled Backgrounds and Texture Backgrounds.
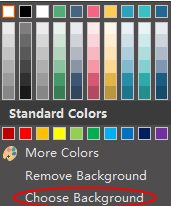
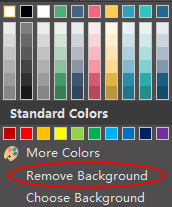
How to Remove Background?
Click Remove Background, the background of the drawing will become transparent and you can see the margin of the page.
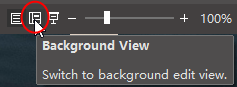
How to Edit a Background?
You need to switch to the background layer when you want to edit the background. There are two ways to switch to the background layer.
- Click Background View button on the status bar.
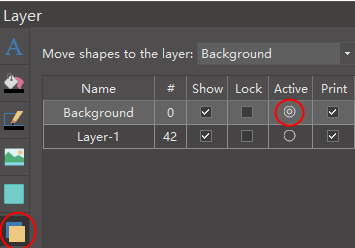
- Click Layer icon on the right sidebar, and check Active on Background layer.
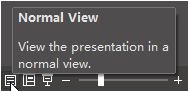
After you finish editing the background, you can click Normal View button to switch back the full display.
How to Design a New Background?
You need to switch to the background layer to design a new background.
- Switch to Background View, drag a rectangle on the drawing page.
- Change the color, size and shape, and you can also add some ornaments on it.
- When you finish your design, you can click Normal View button to switch back to the normal display and see the final effect.

Symbol Library
Symbol Libraries Overview
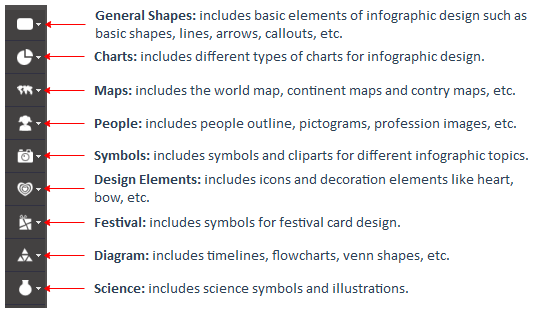
Symbol Libraries are categorized into 9 groups.
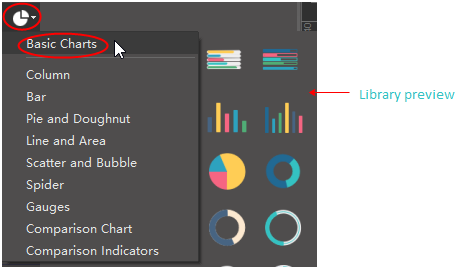
How to Open a Symbol Library?
Click the library icons to open new symbol library.
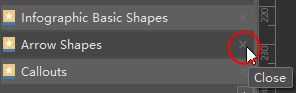
How to Close a Symbol Library?
Click X icon to close a library which is no longer needed.
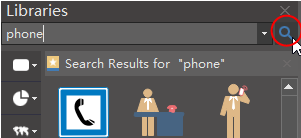
How to Search a Symbol from Libraries?
Input the title or description in the search bar and click Enter or the search icon.
Shape
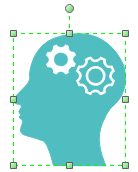
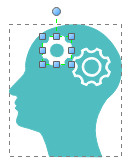
How to Select a Sub-shape in a Grouped Shape?
To select a sub-shape in a grouped shape, simply click on the sub-shape one more time. When a sub-shape is selected, the selection box is blue.
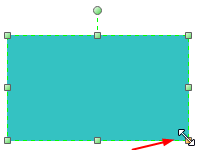
How to Resize a Shape?
Select the shape that you want to change and drag the green handles to resize it.
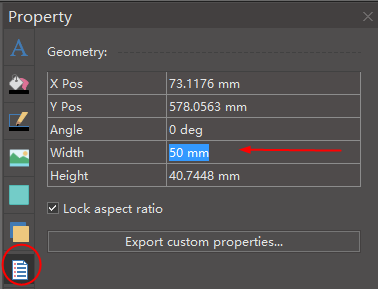
How to Set Precise Shape Size?
Select the shape, click Property icon on the right sidebar and input the precise shape data.
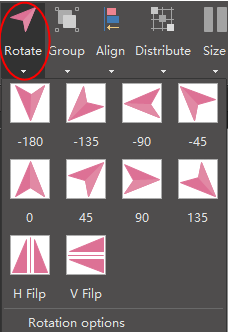
How to Rotate a Shape?
- Select the shape that you want to rotate.
- Click Rotate button on Home tab or floating menu. To set a precise rotation angle, click Property icon on the right sidebar and input number in Angle option.
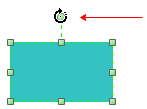
- Put the cursor above the green rotation handle until the cursor becomes a circle arrow, and you can drag the mouse to rotate the shape manually.
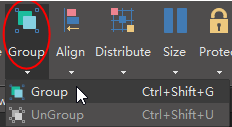
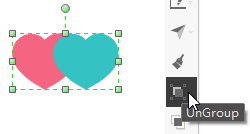
How to Group and Ungroup Shapes?
- To group shapes, you can select the shapes, then click Group button on Home tab or floating menu.
- To ungroup a shape, you can choose Ungroup under Group button on Home tab or click UnGroup button in floating menu.

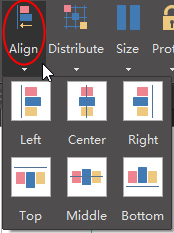
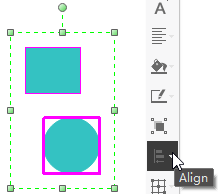
How to Align snd Distribute Shapes?
- To align shapes, you can select the shapes, then click Align button on Home tab or floating menu.
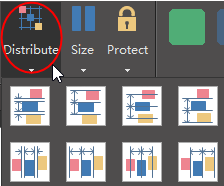
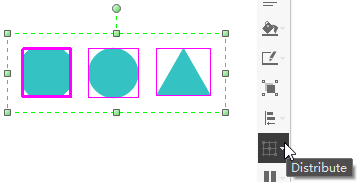
- To distribute shapes, you can select the shapes, then click Distribute button on Home tab or floating menu.
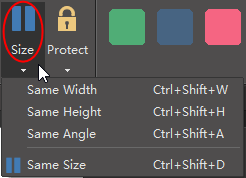
How to Set Shapes in the Same Size?
To set shapes in the same size, you can select the shapes, then click Size button on Home tab or floating menu.
You can also choose to set the same size, width, height, or angle for the selected shapes.
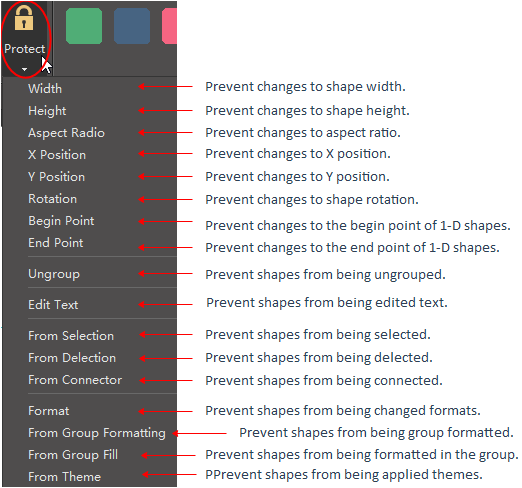
How to Protect Shapes?
With Protect options on Home tab, you can prevent others from changing shapes' attributes (like width or height) and lock shapes from being selected.
Floating Menu
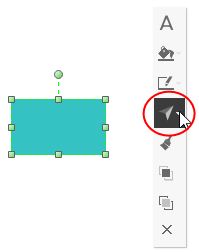
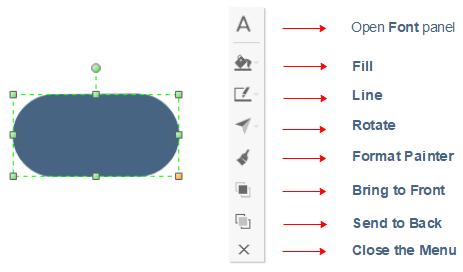
Select a Single Shape
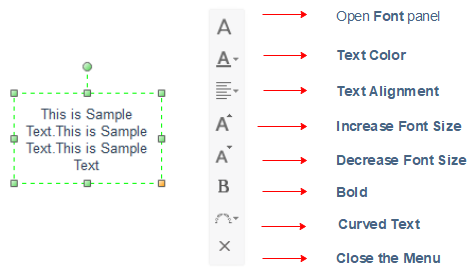
Select a Single Text Block
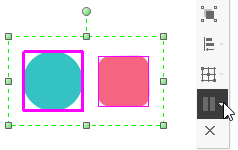
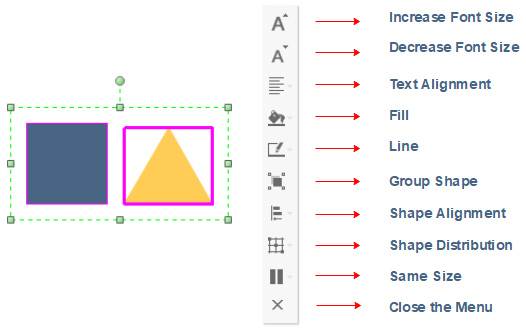
Select Multiple Shapes
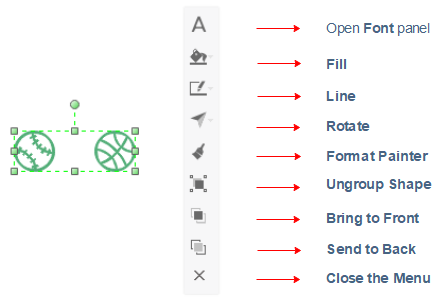
Select a Grouped Shape
Format
How to Add or Change Fill Colors?
Click Fill button on Home tab or on the right sidebar to open Fill panel.
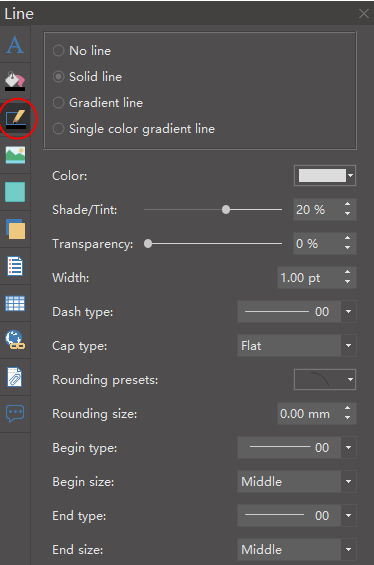
How to Format Lines?
Click Line button on Home tab or on the right sidebar to open Line panel.

How to Format Shape Shadow?
Click Shadow icon on the right sidebar to format the shadow of the selected shape.
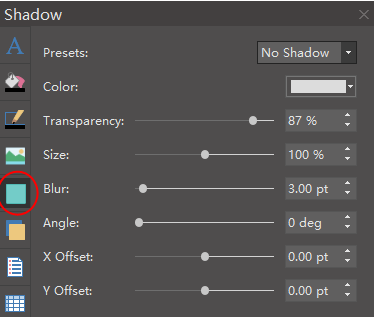
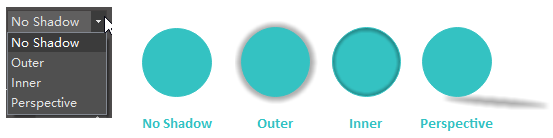
Set the shadow's preset type:
Set a shadow color:

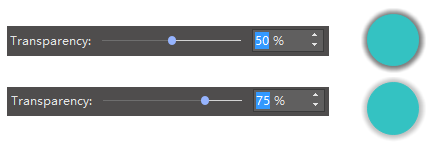
Set a shadow transparency:
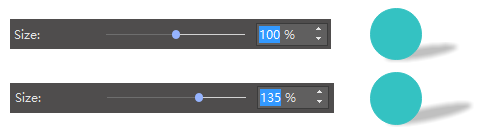
Set the shadow's size:
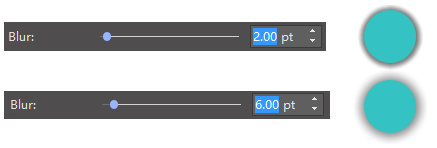
Set the shadow's blurriness:
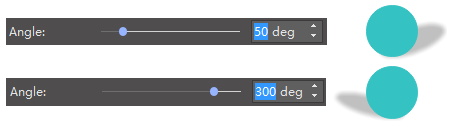
Change the shadow's angle (only available for perspective shadow ):
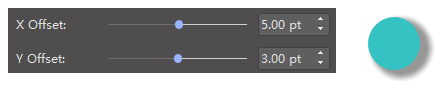
Set X Offset and Y Offset (the position of shadow):
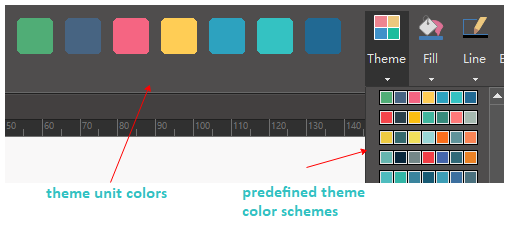
How to Apply Themes?
The Theme option contains the predefined theme color schemes and theme unit colors.
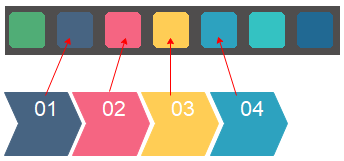
When you change the theme color scheme, the unit colors will change accordingly. Then you can apply the unit colors directly to the selected shape.
Apply theme unit colors to each shape:
Change a new color scheme:

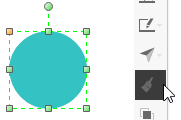
How to Use Format Painter?
To copy style from one shape to another, you can use the format painter.
Select the shape whose style you want to copy, then click Copy Style button on Home tab or floating menu.

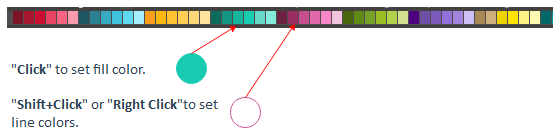
How to Use Quick Color Bar?
The Quick Color Bar is located at the bottom of the interface.
Colors from the Quick Color Bar won't be changed when changing themes.
Fill Setup
How to Add or Change Fill Color?
There are 3 ways to change the fill color.
- Click Fill button on Home tab or click Fill icon on the right sidebar.
- Use the Quick Color Bar at the bottom of the interface.
- Change the theme color of the drawing.


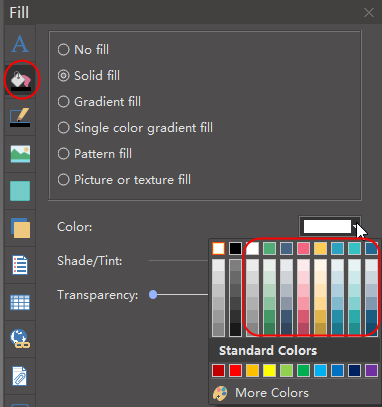
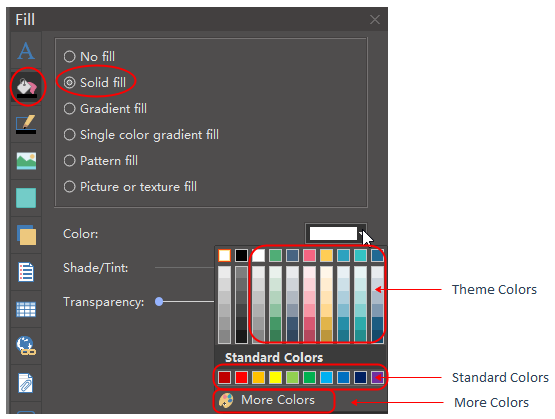
Solid Fill
Click Fill button on Home tab or on the right sidebar and choose Solid fill.
Gradient Fill
Click Fill button on Home tab or on the right sidebar and choose Gradient fill.
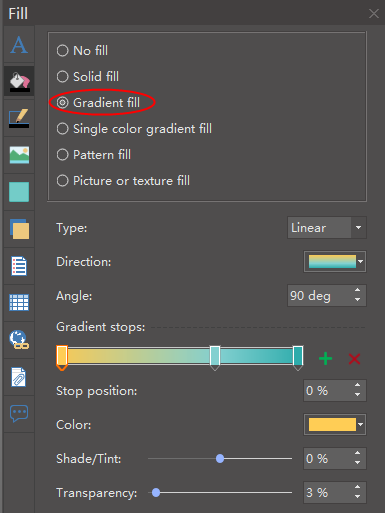
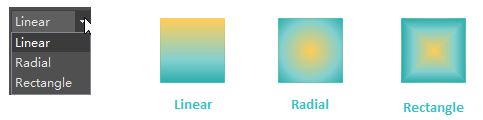
Choose a gradient type:
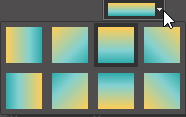
Choose a gradient direction (This example is for linear type):
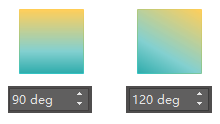
Choose a gradient angle:
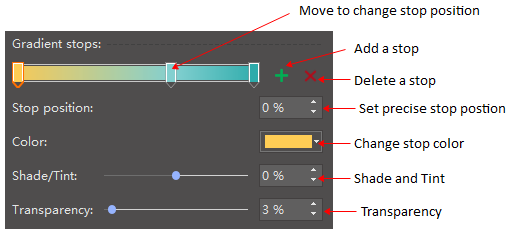
Gradient Stops:
Pattern Fill
Pattern Fill allows you to fill shapes or symbols with pre-defined patterns. You can change foreground and background colors of the pattern.
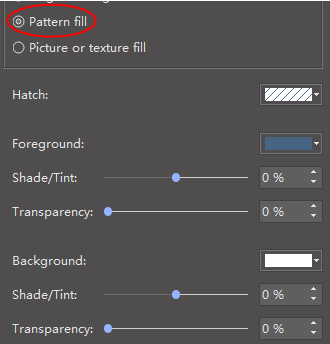
Choose a pre-defined hatch type:

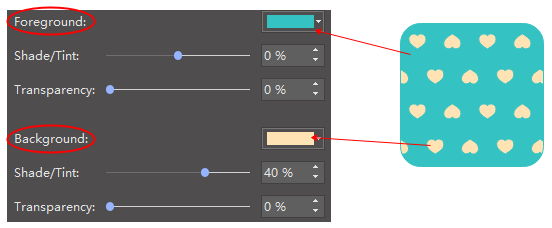
Change foreground and background color:
Picture or Texture Fill
You can't change colors when you use the Picture or texture fill function.
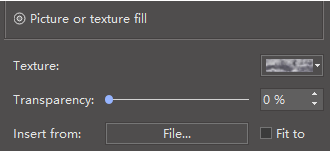
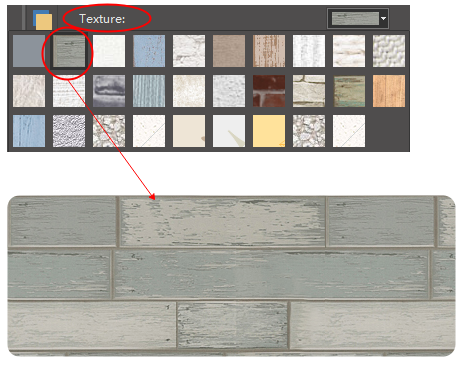
Choose a pre-defined texture design:
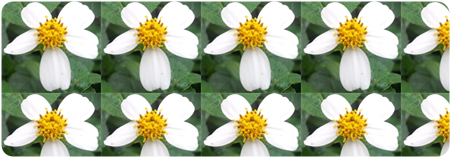
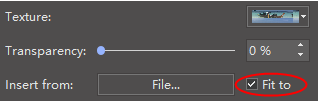
Fill with local pictures:
- you can fill with the original picture size
- you can select to fit to the shape size
Line Setup
How to Change Line Colors?
There are 2 ways to change the line colors.
- Click Line button on Home tab or on the right sidebar.
- Use the Quick Color Bar at the bottom of the interface.
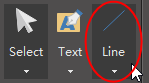
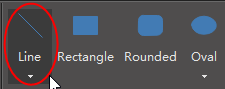
How to Draw a Line?
There are 2 ways to draw a line.
- On Home tab, clickLine button. The mouse cursor will become
 . Then you can draw lines on the canvas with your mouse.
 - Go to Symbol tab, click Line button to draw a line.
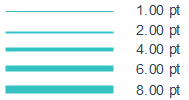
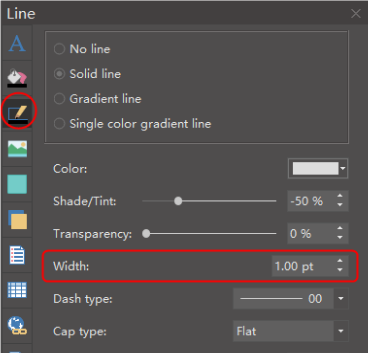
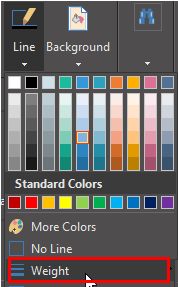
How to Change Line Width (Weight)?
Select the line that you want to change.
- Click Line button on Home tab, point the cursor at Weight option and then you can select the desired weight.
- Click Line icon on the right sidebar, you can choose Width that you want.
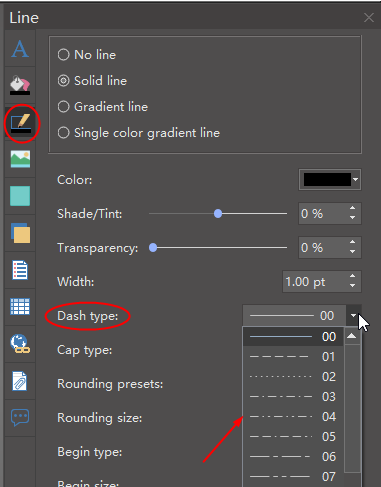
How to Change Line Dash Types?
Select the line that you want to change.
- Click Line button on Home tab, point the cursor at Dashes option and then you can select the desired type.
- Click Line icon on the right sidebar, you can choose Dash type that you want.
How to Add and Change Line Arrows?
Select the line that you want to change.
- Click Line button on Home tab, point the cursor at Arrows option and then you can select the desired type.
- Click Line icon on the right sidebar, you can choose Arrow type that you want in the Begin type and End type.
Text Setup
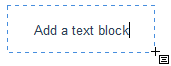
How to Add a Text Block?
You can add a text block anywhere on the canvas.
Click the Text button in the Home tab and the cursor will become  .
.
Then you can draw a text block on the canvas with your mouse and type in the textbox directly.
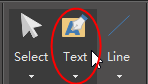
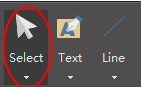
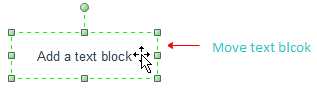
After you finish typing, click Select button to switch back to Arrow cursor, then you can move the text block to the place you want.
How to Change Size, Color and Style of Font?
You can set Font options either from the right sidebar or from the floating menu.
The Right Sidebar locates on the right side of the canvas.
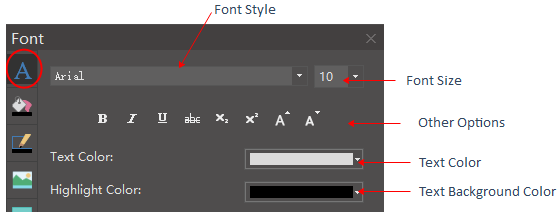
When you select a text block, the floating menu will show up. It is one of the most frequently-used tools.
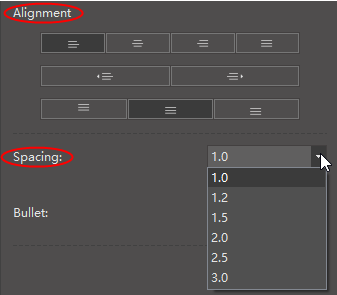
How to Change Text Alignment and Spacing?
You can change the alignment and spacing of the text in Font panel on the right sidebar.
How to Add Bullet Points to Text?
You can add bullet points to the text from the Font menu on the right sidebar.

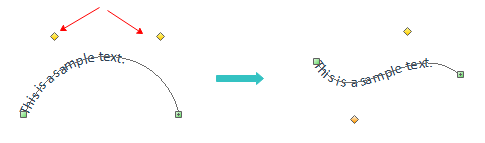
How to Add Curved Text?
To add a curved text, you can follow the 5 steps:
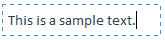
- Draw a text block and type text in the block.
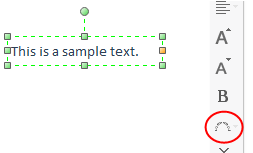
- Click Text on path button on the floating menu.
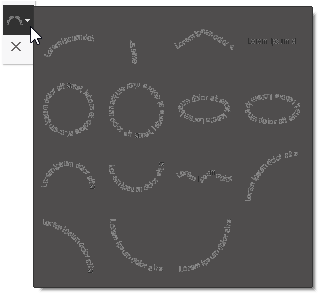
- Choose a pre-defined curve style.
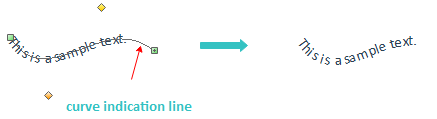
- Move the yellow control handles to adjust the curve.
- Click the mouse on any blank space of the canvas, the curve indication line will disappear.
Picture
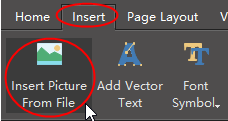
How to Insert a Picture?
There are 2 ways to insert a picture.
Click Picture button on Insert tab or click Picture icon on right sidebar and click Insert picture.
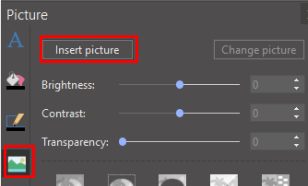
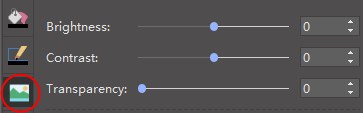
How to Set Brightness, Contrast and Transparency of Picture?
You can set the brightness, contrast and transparency of the picture on Picture panel.
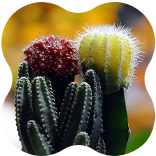
How to Clip Pictures with Pre-defined Shapes?
You can follow the below steps to clip a picture to a certain shape.
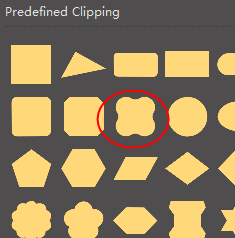
- Insert a picture.
- Select the picture, and choose a pre-defined shape from the Predefined Clipping library.
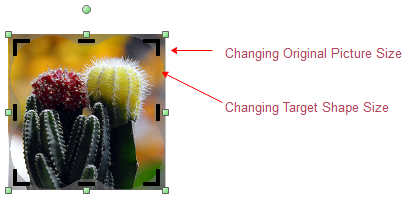
- You can see 2 selection frames. The green one is for resizing the original picture, and the black one is for resizing the targeted shape.
- Click on the outside blank space, and the clipping is done.
- If you want to go back to the original picture and change to other shapes, simply click the below clip button.
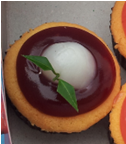
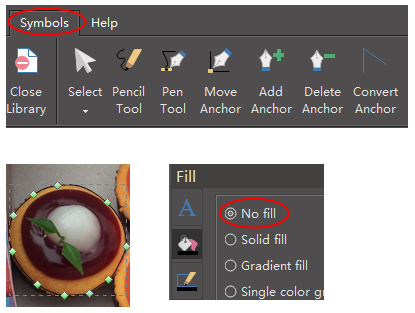
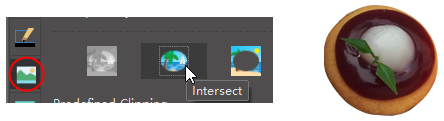
How to Clip Pictures with Custom Shapes?
You can clip a picture to any shape that you want.
- Insert a picture.
- Draw a custom shape with Pen tool on Symbol tab. Set the custom shape with No fill for better adjusting the drawing.
- After finish drawing, select the objects, and click Intersect or Subtract button to clip the picture.
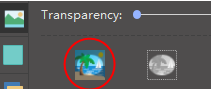
How to Change Picture Effect with Pre-defined Filters?
You can clip a picture to any shape that you want.:
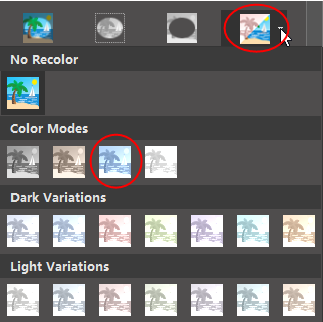
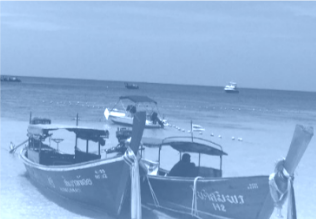
Chart & Graph
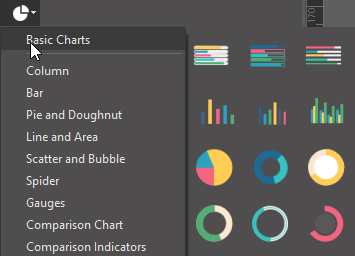
How to Add a Chart?
Open Chart library, drag and drop the selected chart onto the canvas.
How to Change Chart Data?
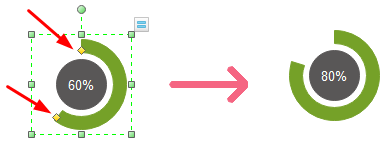
You can drag the yellow control handle on the shape, or click the floating button to set data.
- Drag the yellow handles
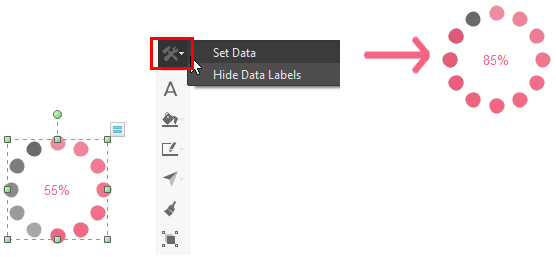
- Set through the floating button
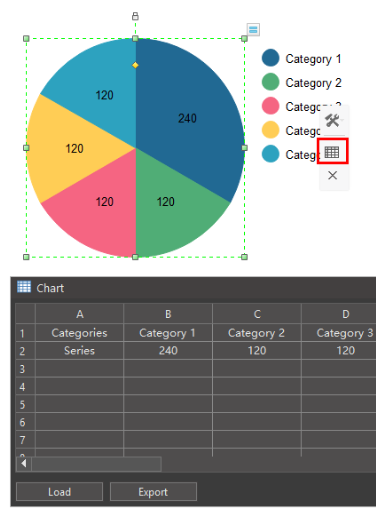
- Set data directly in the table
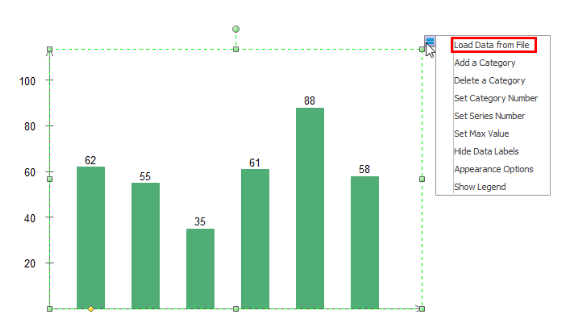
- Change data by importing a data file
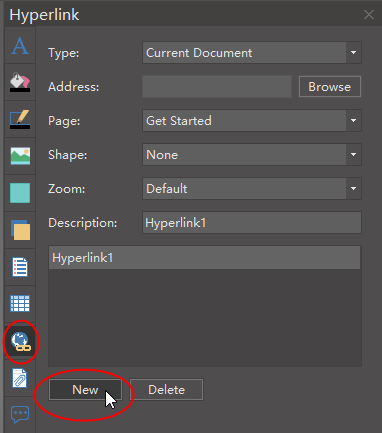
How to Add a Hyperlink?
Select the shape or text which you want to add a hyperlink to. Then go to the right sidebar, click Hyperlink button, and click New option to create a new hyperlink.
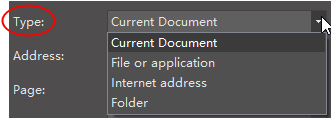
You can link the current documents, files, applications, Internet addresses or folders to the shapes or text.
Link to Current Document
- Choose Current Document in Type option.
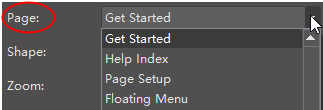
- To link to a specific page, select the page name in Page option.
- To link to a specific shape, select the page name on which the shape appears in Page option firstly, and then choose Shape ID in Shape option.
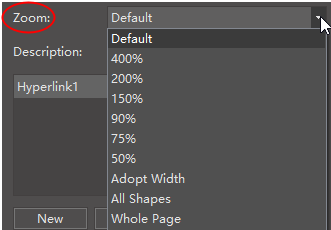
- To specify a zoom level, input a percentage in Zoom option, or select a zoom level in the drop-down menu.
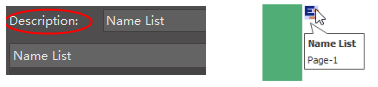
- In Description option, input a name for the link. This text will appear when you point the cursor over the hyperlink.
- To delete a hyperlink, click Delete button.
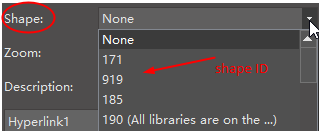
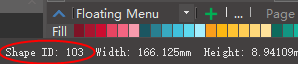
Where to find the shape ID? Select the shape, you can see the shape ID at the status bar.
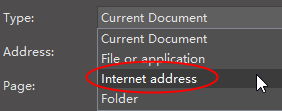
Link to Internet Address
- Choose Internet address in Type option.
- Copy and paste the internet address in Address option.

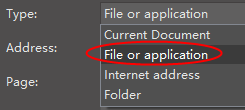
Link to Folder(s)
- Choose Folder in Type option.
- Copy and paste the internet address in Address option.

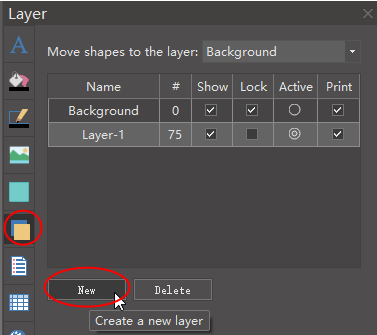
How to Use Layers?
The Layer function allows you to manage objects separately in the different layers.
- Add a layer
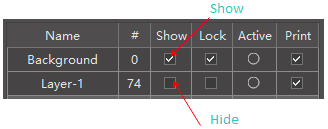
- Show/Hide a layer
- Lock/Unlock a layer
- Print/Unprint a layer
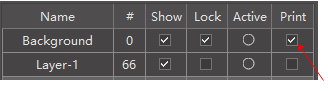
By default, there are two layers, the background layer and Layer-1, in the drawing page. You can add more layers by clicking New button.
To show objects in a layer, check the Show option. To hide objects in a layer, uncheck the Show option.
Check the Lock option, all objects in the layer will be locked. You cannot select, change or move the objects. When you uncheck the Lock option, all the objects in the layer will be unlocked.
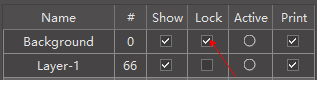
Check the Print option, all objects in the layer will be printed when you print the file. On the contrary, if you uncheck this option, the objects in the layer will not be printed.