Edraw Support Center
Get quick answers and step-by-step instructions in our support center.
Create an Org Chart in EdrawMax
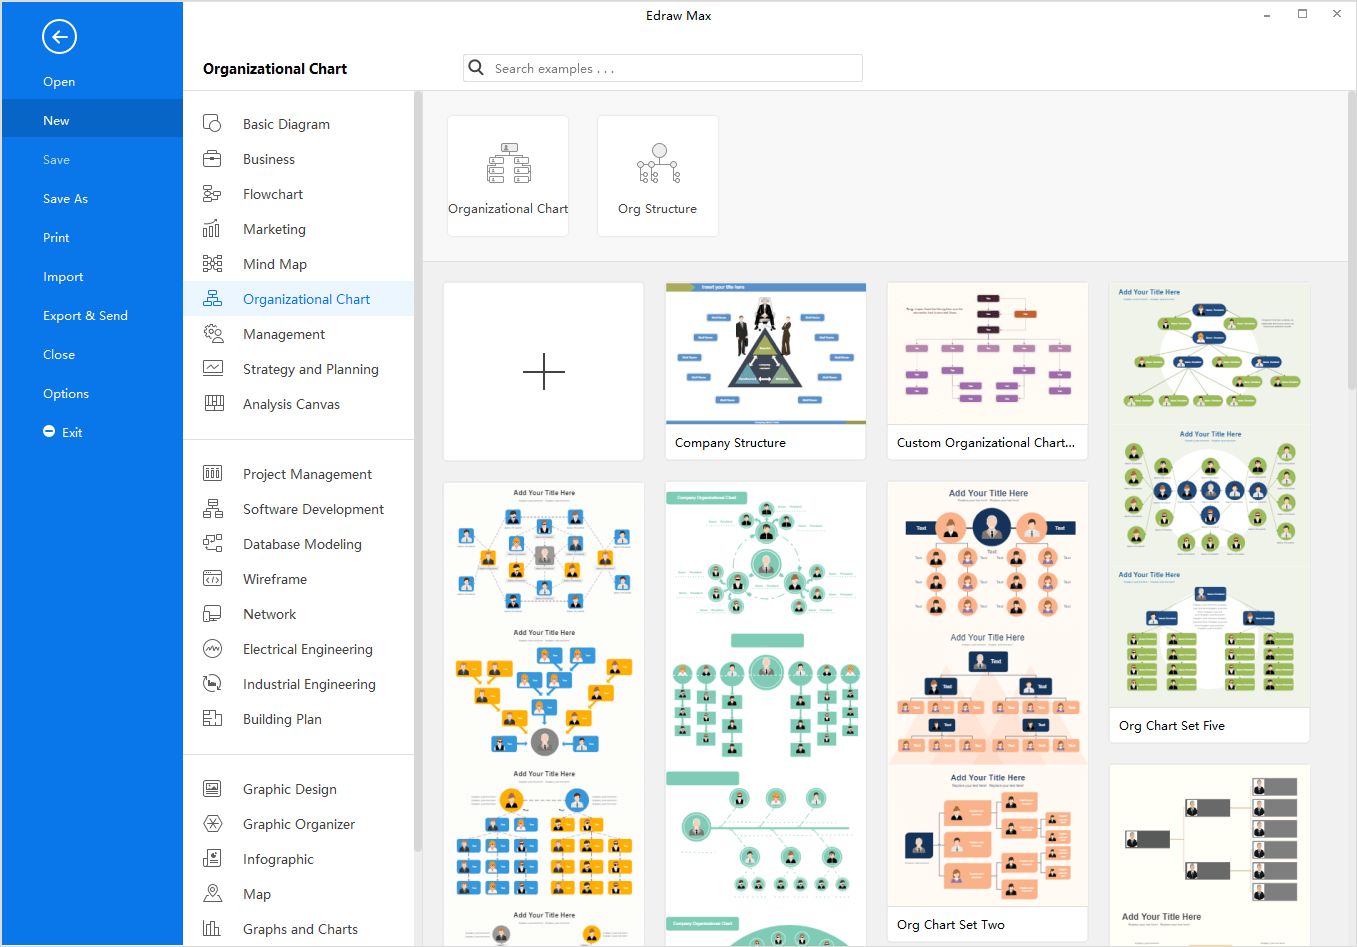
To create an org chart in EdrawMax, you can use a pre-made org chart template or build it from scratch. Click on the template thumbnail and open it in the workspace.

Alternatively, click the big plus icon, and a new blank document will be open for you. You are able to use the pre-made org chart shape and make an organizational chart from scratch.

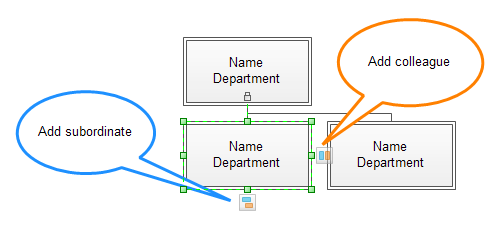
To add a shape of subordinate or colleague, select the shape, you can
- Click the floating button around the selected shape.
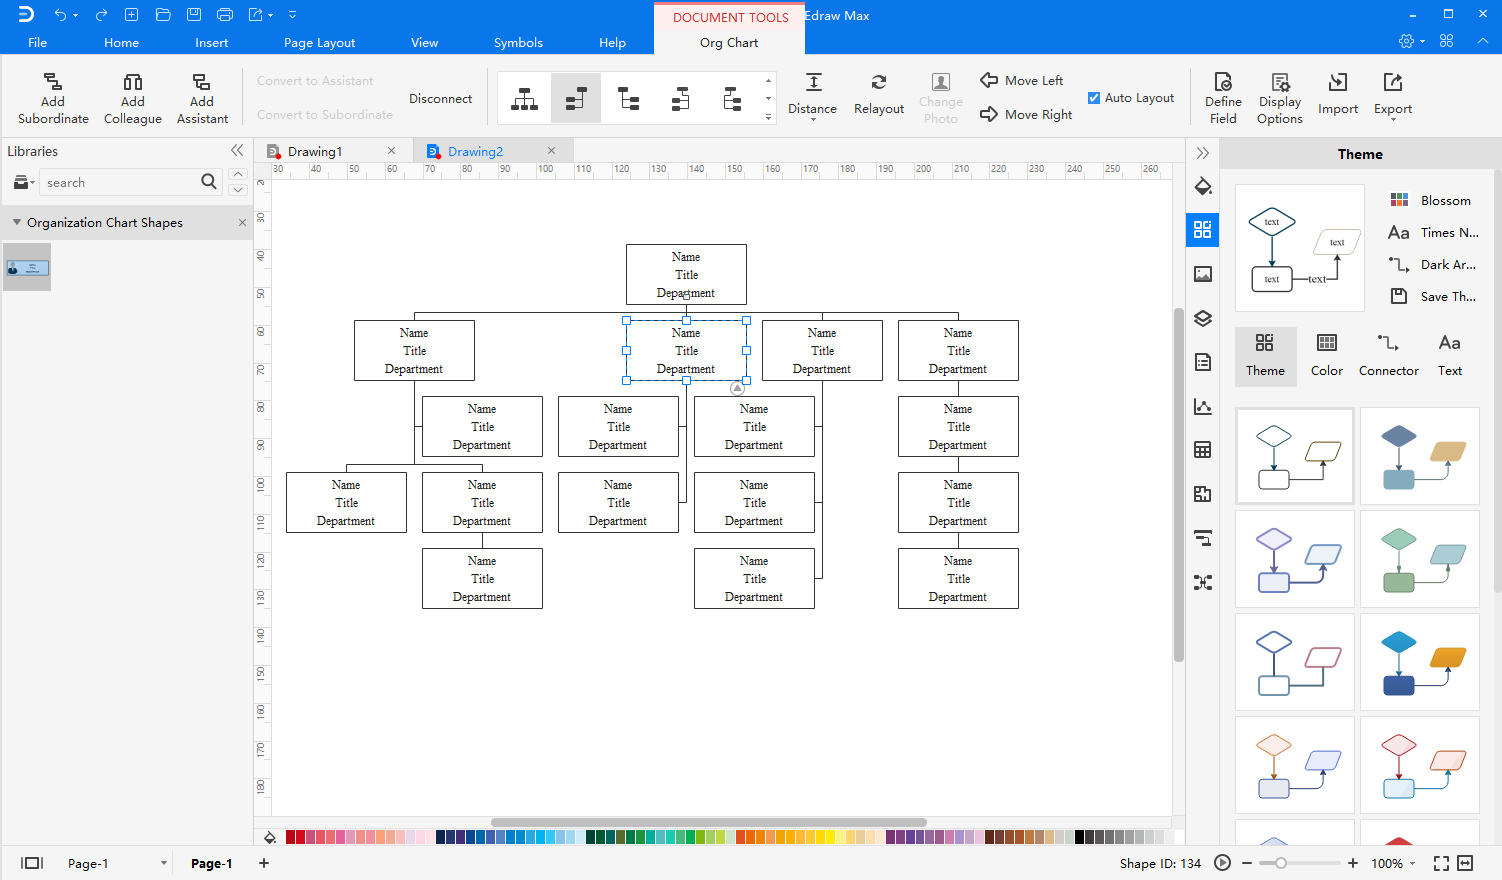
- Click Add Subordinate and Add Colleague on Org Chart tab.
- Press Insert key to add a colleague and press Ctrl + Insert key to add a subordinate.
- Move an employee shape over the floating button of the selected shape, release the mouse when a red box appears, and then moved shape should be added as subordinate.


To add a shape of assistant, select the shape, then click Add Assistant on Org Chart tab.
Tips:
- For the shape on the top, you can’t add colleagues for it.
- For the shape of subordinate, you can select it and convert it to the shape of assistant. And conversely, you can convert a shape of assistant to subordinate.
- You can open Display Options window, check Show Photo, and replace the default photo with the real employee photo in the org chart.
Change Org Chart Layout
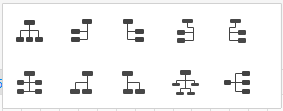
For the org chart in EdrawMax, you can change its layout with the built-in styles.

Check Auto Layout box to enable auto layout mode, and the whole diagram will be rearranged when you add or delete employee shape.
When the layout of the org chart has some changes that you don’t want, you can click the Relayout on Org Chart tab to re-arrange the org chart.