How to Draw 3D Network Diagram
Choosing Chart Type - 3D Network Diagram
First open Edraw. Choose the 3D Network Diagram Template in the Network Category. The icon looks like this.
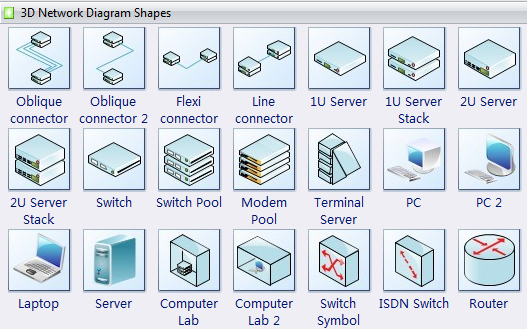
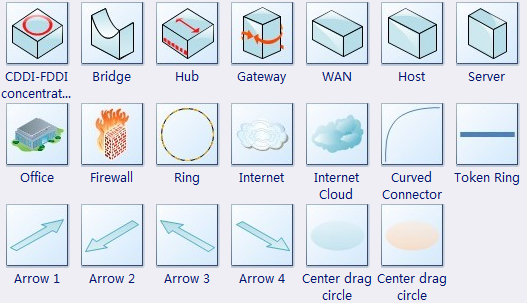
Double click it and Edraw will create a new blank document with 3D Network Diagram symbols. The first four symbols are oblique connector and line connector. You can use them to connect network symbols. Other symbols have the 30 angle of view. The oblique connector is set as 1:2.
Free Download Network Diagram Software and View All Templates
How to Use the Oblique Connector
Drag the oblique connector into the page. You can drag begin point and end point to adjust the position. You can also reposition the bend by tugging on the little yellow control handle in the middle of the shape.
![]()
Change the Connector Perspective
You can change the perspective of the connector by right click the connector. The 30 deg, 45 deg and 60 deg settings are probably pretty clear. For the other "ratio" settings, the numbers simply indicate how much the connector lines run horizontally versus how much they rise vertically. So the 1:3 setting means the connector goes over three units and up one unit. The 1:1 setting is the same as 45 deg.
Move or Add New Connection Points
The network shapes have had their connection points moved so that the incoming connection looks a bit better. You can move a connection point by using the Connection Point Tool. This is located in the Basic Tool group under Home menu.
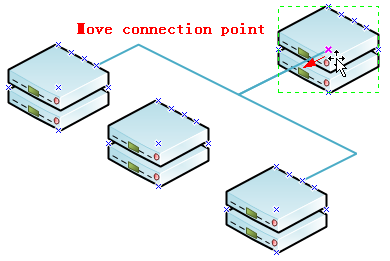
Add Text and Change Text Position
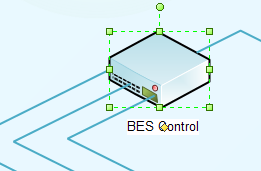
Double click the symbol then type text. Click the blank position to end editing. You can move the yellow point above the text to change relative position.
How to Add background in the Text
Select the shape or text. Switch to the Home menu, in the Font group, set the text highlight color as write color.
Some 3D Network Diagram Examples
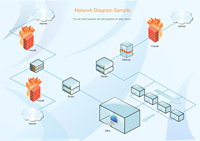
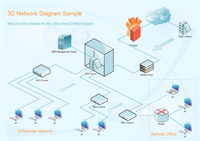
The following 3D Network Diagram examples are created by Edraw and included in the software.
You May Also Like:
Basic Network Diagram Software
